Practice Game 3 - 2015/07/26
I put the call out in the gaming group to see if anyone else wanted a practice game and I found another player wanting to practice. We scheduled a game for Sunday afternoon.
I made no changes to my list and rocked up to face dwarves.
There were a few odd rules issues that came up in this game so I'd appreciate feedback from experienced players on them.
Like my other opponents, this player had chosen to go as soft as possible to reap the tournament points. I am wondering if this will be a common theme. In many of my photos you will see a face-down High Magic card. That is how I represented the High Magic ward. The High Magic Ward turned out to be more useful than I expected, even if it was usually just a 6+ against dwarven anti-magic defences. The thought of a Dragon Prince bus with a native 6+ Ward makes me salivate, but there are NO CALEDORIAN TRAITORS IN THIS ARMY. >:D
His list:
Josef Bugman
Runelord
BSB
4 huge blocks of warriors/longbeards/hammerers
1 small unit of hammerers
10 rangers
2x 15 miners
Zero war machines.
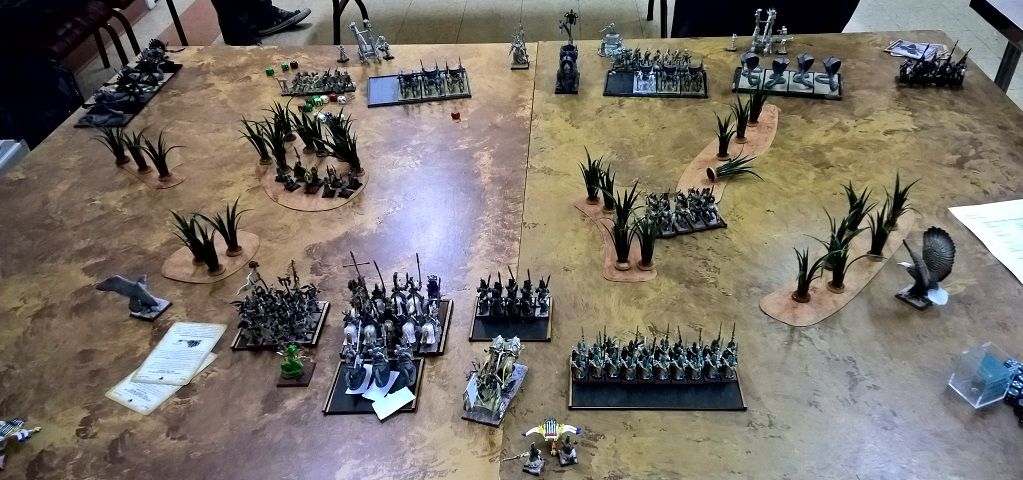
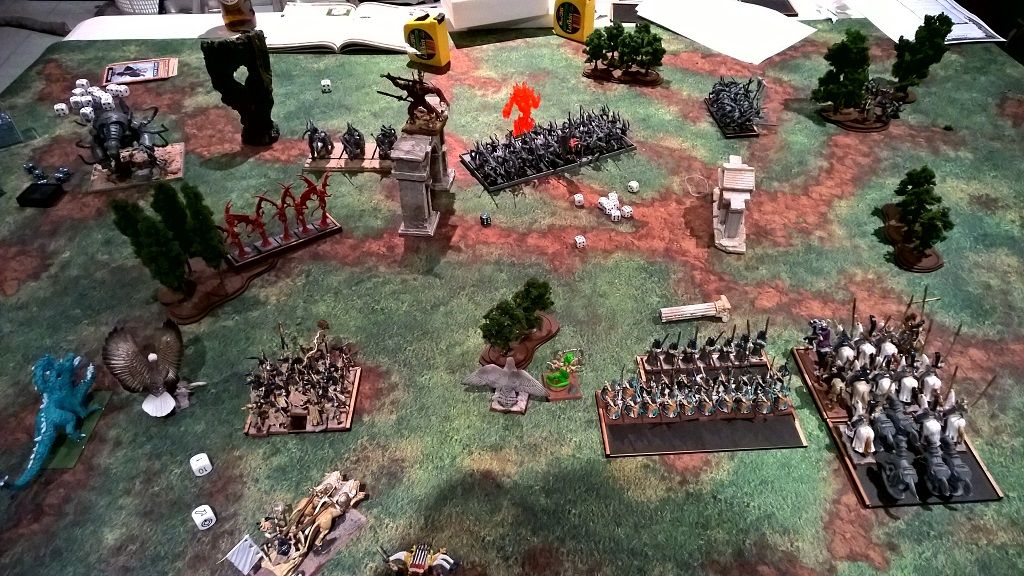
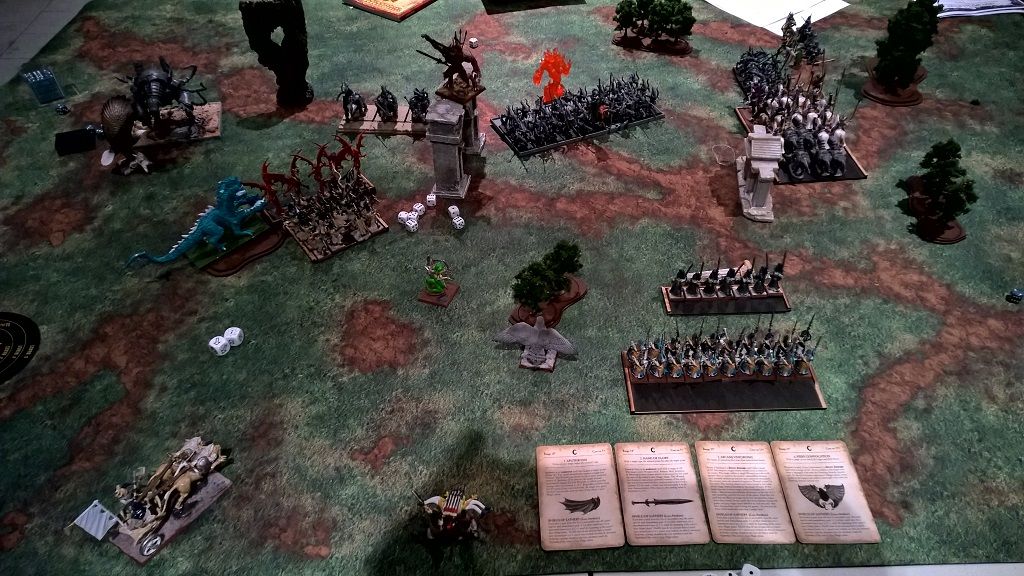
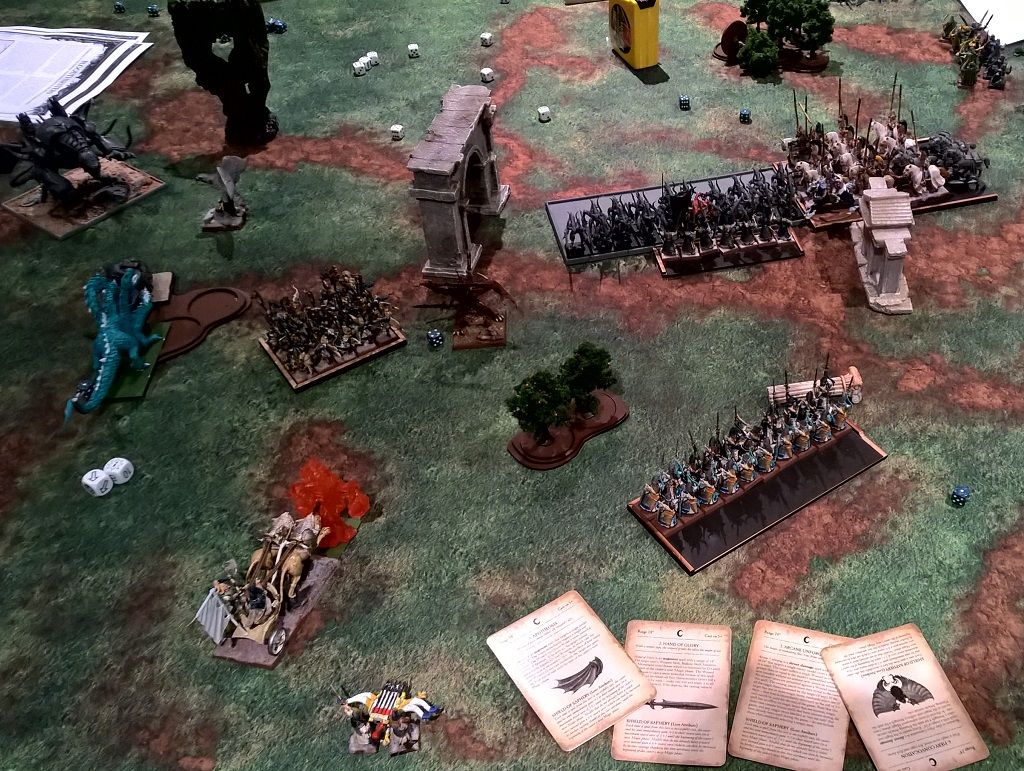
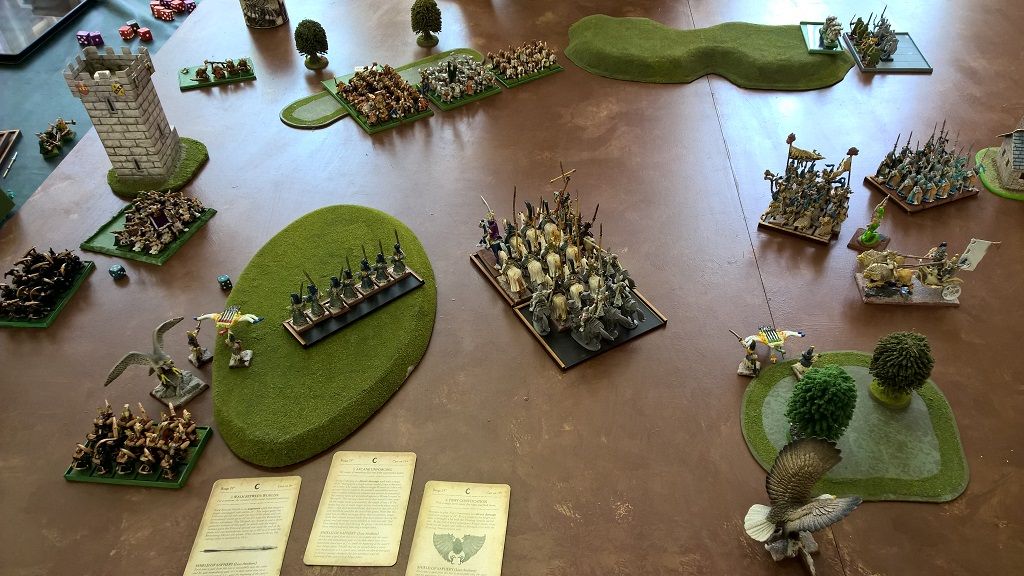
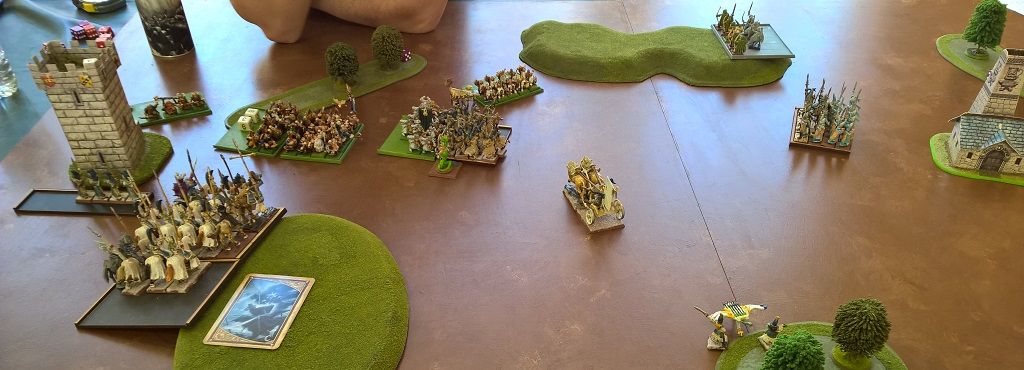
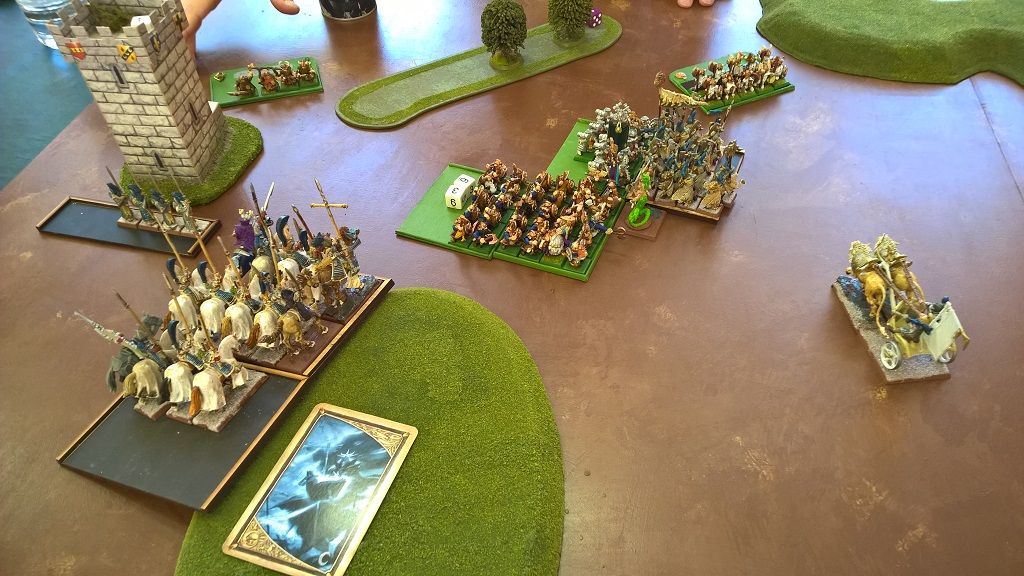
We roll up Dawn Attack and I deploy most of my army in the middle with the hydra and one bolt thrower on the left. He rolls his army up mostly on his right flank.
I scout my Shadow Warriors up where they are in short bowshot range of the small hammerer unit. He wants to Scout his rangers into the tower but the tower is technically with 12" of me so we can't figure out if he's allowed to. We dice for it and he deploys outside the building.
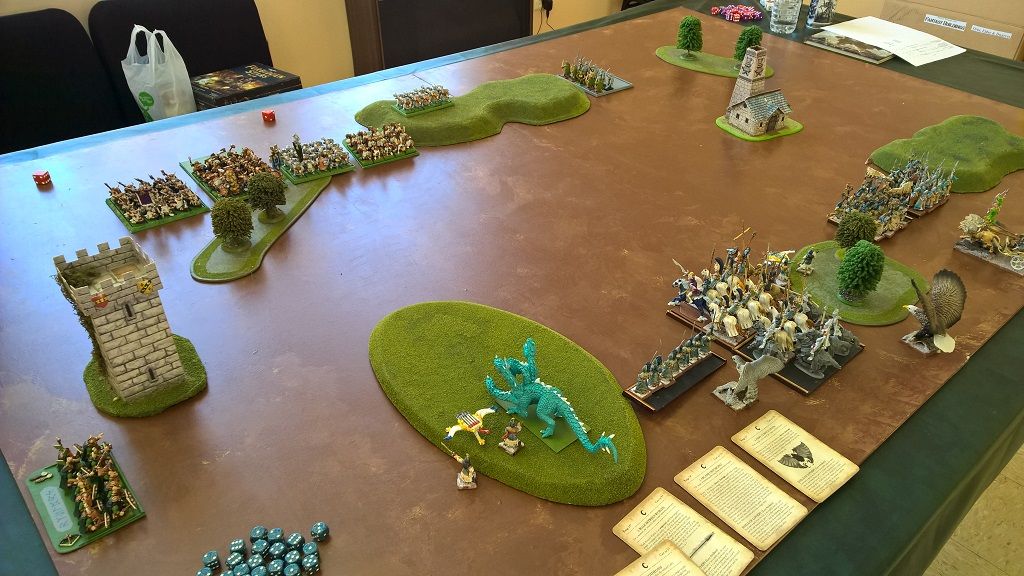
He doesn't roll the six to steal first turn so I move up.
Turn 1
Nothing of note really happens in the first turn. My shooting starts chipping away at him. I keep the eagles and chariots along my backline as I am worried about his Miners popping up and getting into my rear. He moves the rangers into the tower and knocks a wound off the Hydra with throwing axes.
Turn 2
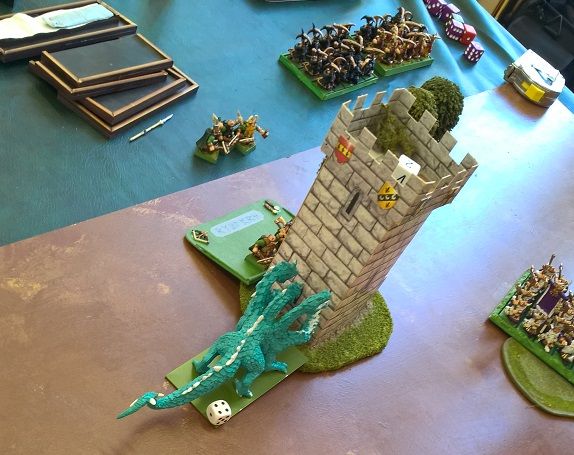
Having learnt from last game, I make sure the Archmage is in range to heal up the hydra. The opposing Runelord spelleats it or whatever it's called, so I lose Apotheosis. The hydra attacks the tower. It unleashes its breath weapon and savages the unit, but they hold.
His miners pop out on my left flank. The small hammerers charge the shadow warriors, who stand and shoot. The hammerers kill a shadow warrior but are severely depleted now after several rounds of bowfire.
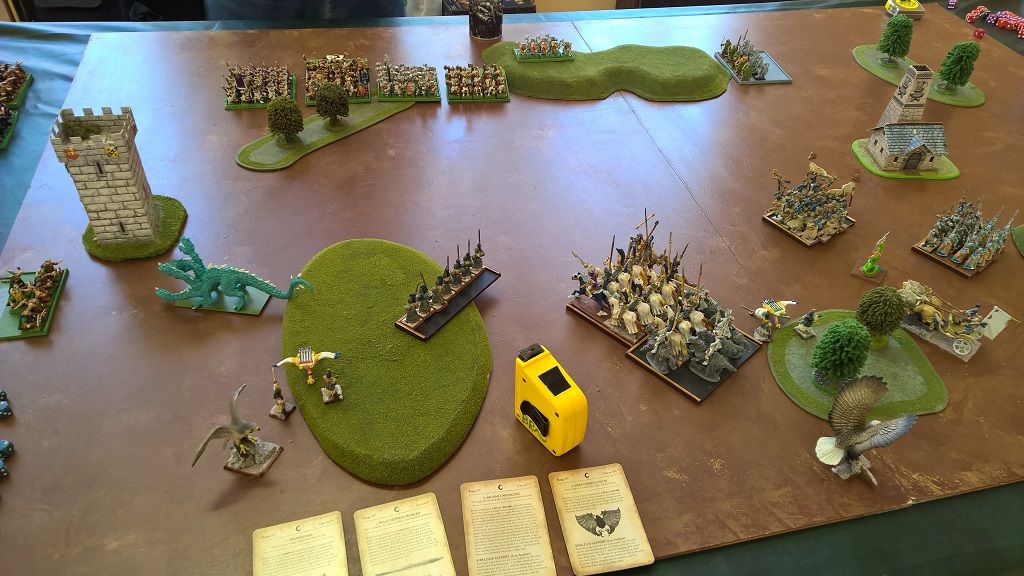
Turn 3
This turns out to be the pivotal turn. Our armies are now in range to threaten each other properly.
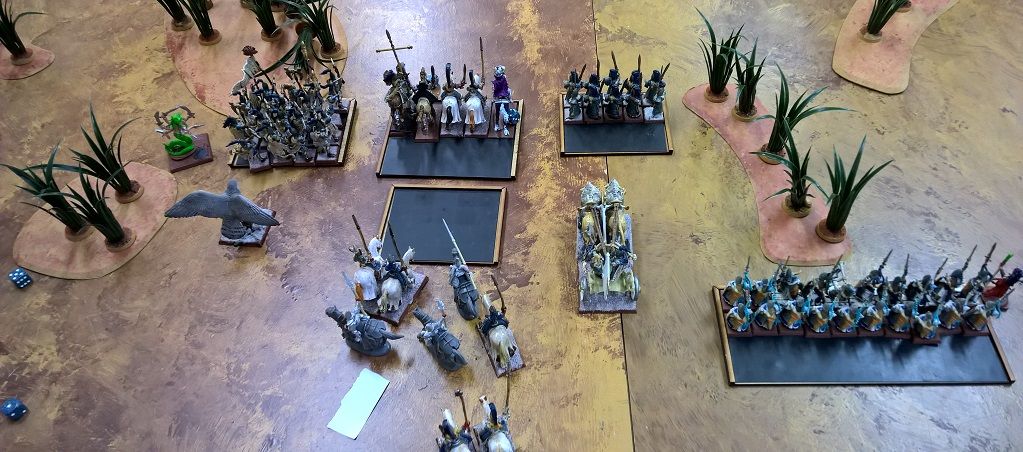
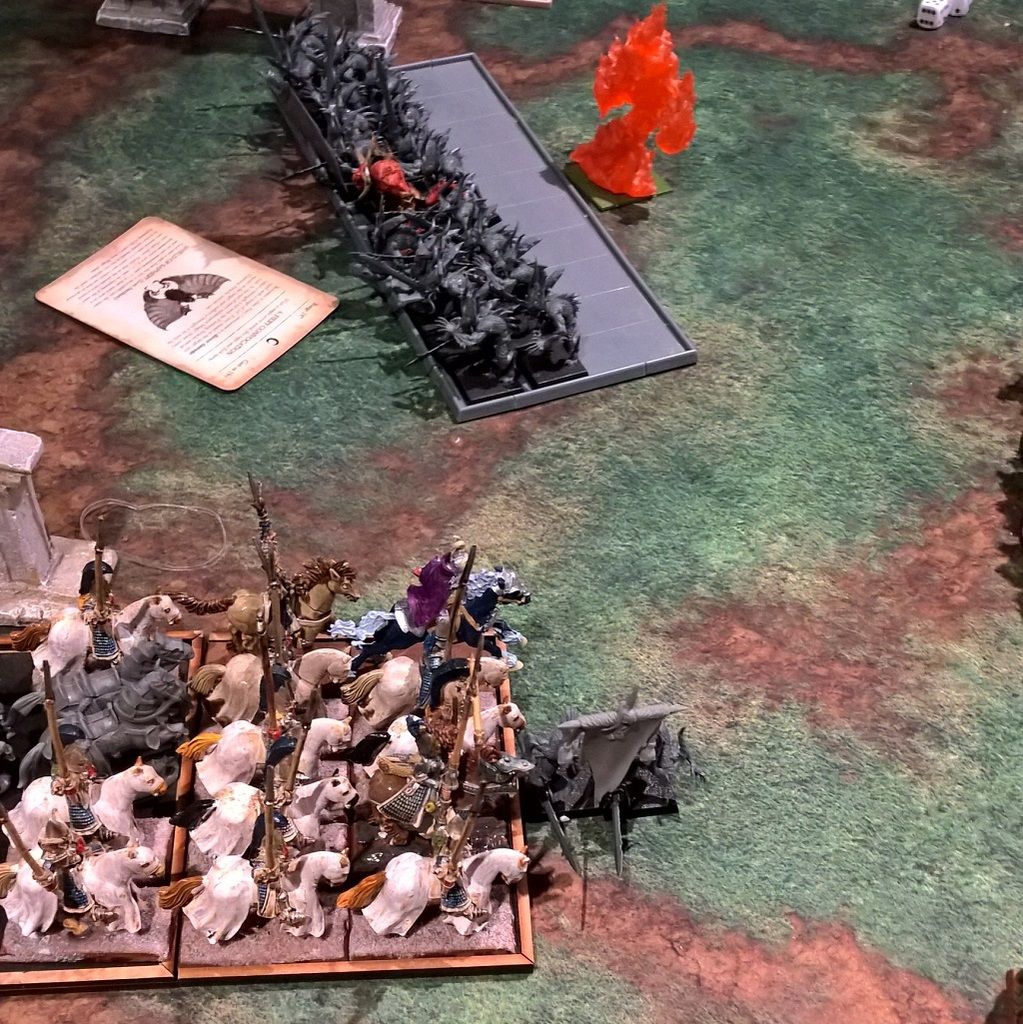
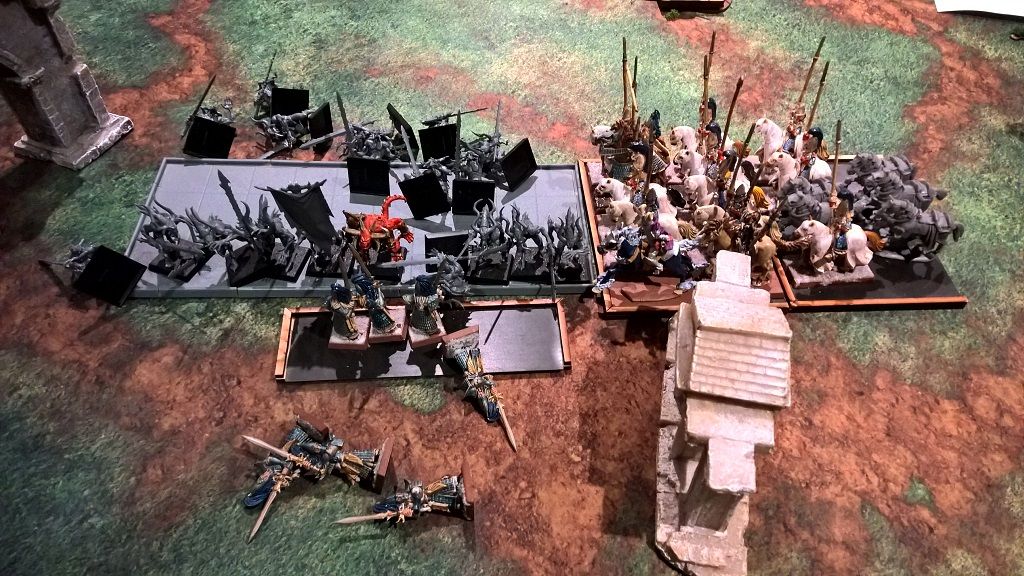
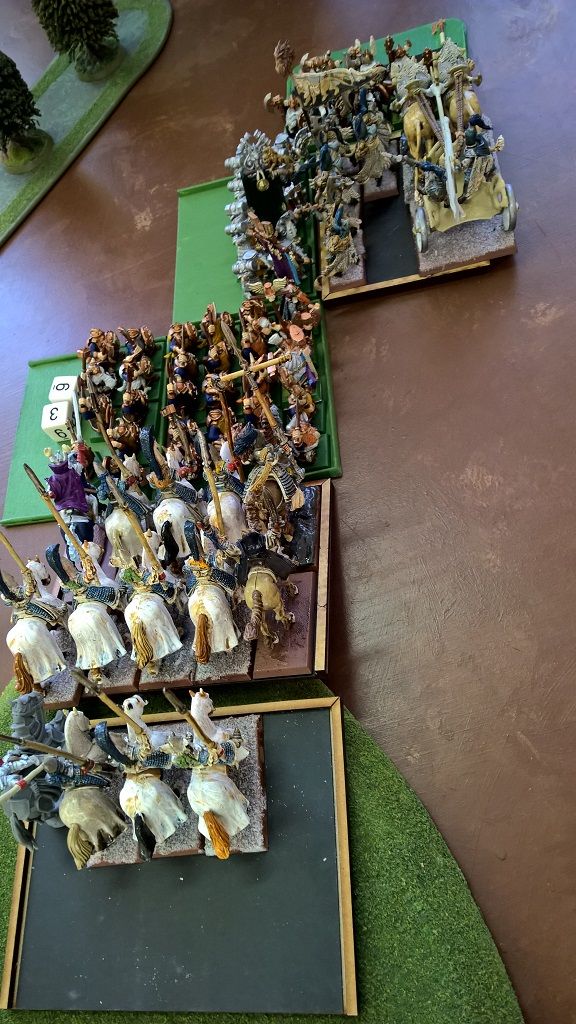
My plan here is to throw the Seven Swordmasters into the black miners on the far left, the Silver Helms into the big block of longbeards also on the left, and use an eagle to hold up Bugman's huge unit. Unfortunately, the brown eagle on the bottom right is too far away so I have to use the grey eagle.
The Swordmaster charge is the biggest issue we had.
Here are the models as I declared the charge:
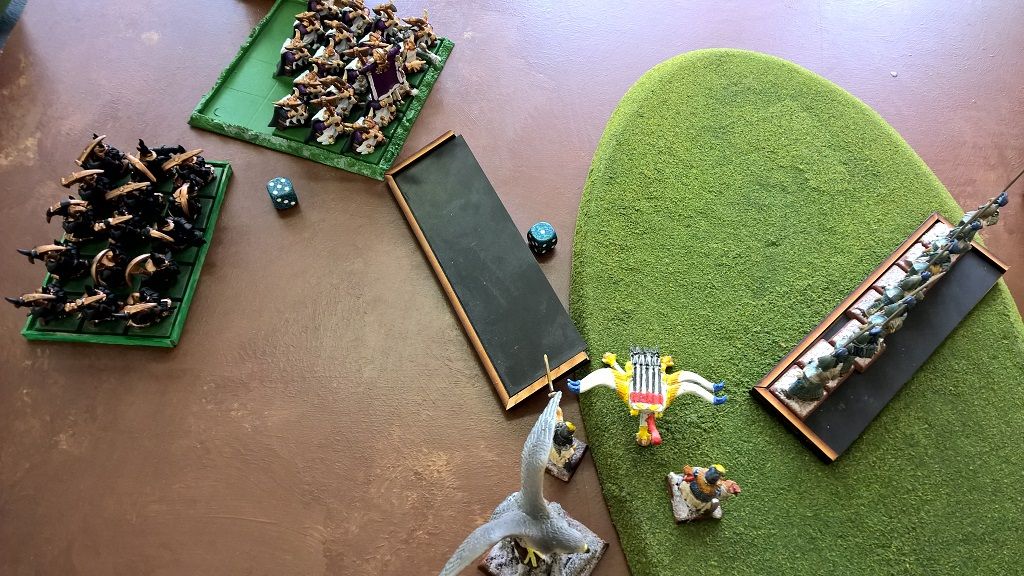
I placed the empty movement tray to demonstrate that the Swordmasters had room to slip between the longbeards and bolt thrower
if I could wheel after advancing.
My understanding is that to declare a legal charge you need to be:
Within range
Have LOS
Be able to contact with one wheel of up to 90'.
I believe I could advance to clear the bolt thrower, wheel, advance to slip between the gap, and then ultimately contact the black miners. I would then close the door to maximise models in contact.
My opponent believed I would have to wheel immediately and thus not be able to get past the bolt thrower.
Ultimately he allowed it and I returned the favor later, but for future reference I would like to know if I was in the right or not. Thanks!
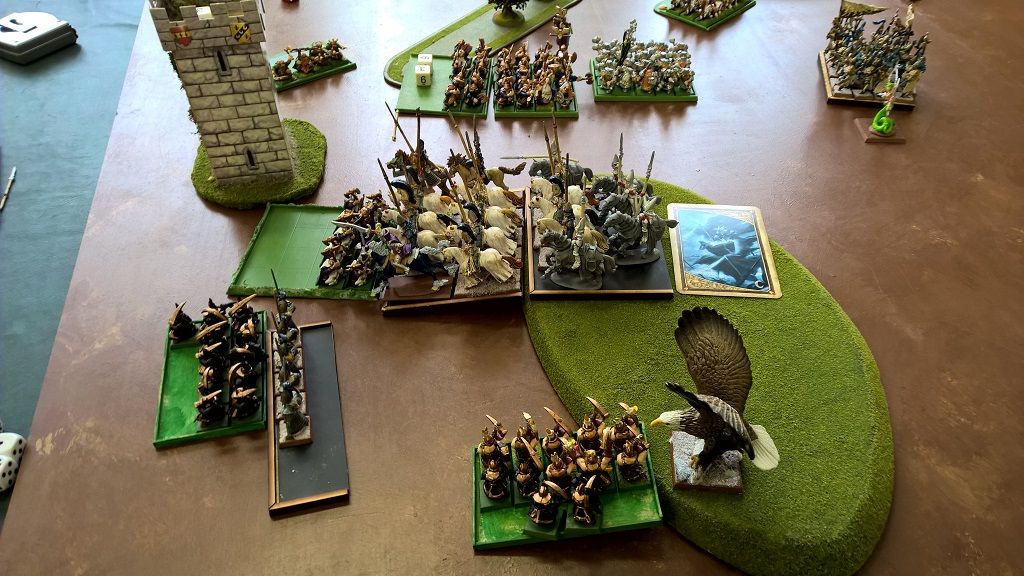
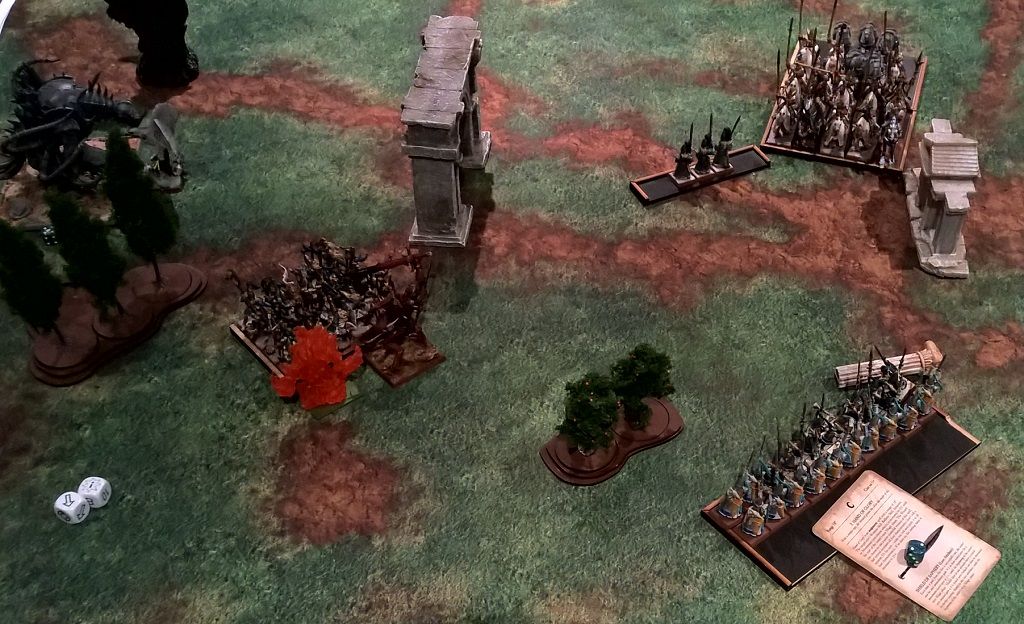
In his turn, his huge block and the smaller hammerer unit combo charged the Eagle, who held. I had placed the Eagle in such a way that the big block would be forced to charge its front arc and be angled away from where my helms would be. While the Eagle died promptly, this caused the dwarf line to be completely disordered and disrupted.
On the positive side, without the grey eagle's protection, the miners that had come on from my south had free reign to charge and destroy the bolt thrower. They they overran into my helm bus.
Unfortunately, the helm bus still won the combat quite convincingly. The Swordmasters broke the black miners, who ran off the table, allowing the Swordmasters to reform. The small Hammerer unit is finally defeated by the Shadow Warriors. They were really surpassing my expectations this game. They have great WS and BS and when they're fighting units with only a 5+ armour save the ASF & Murderous Prowess is telling.
Turn 4
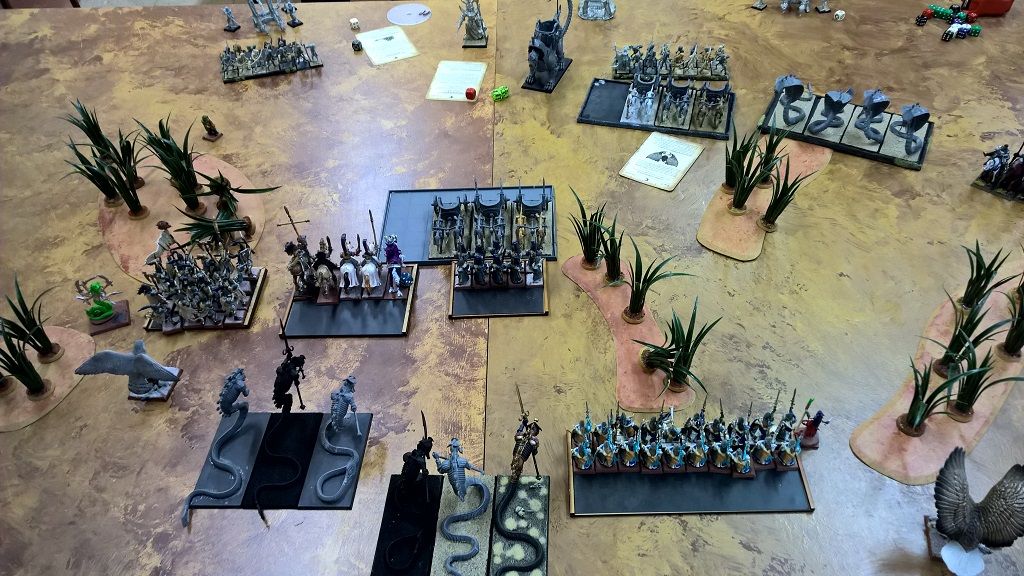
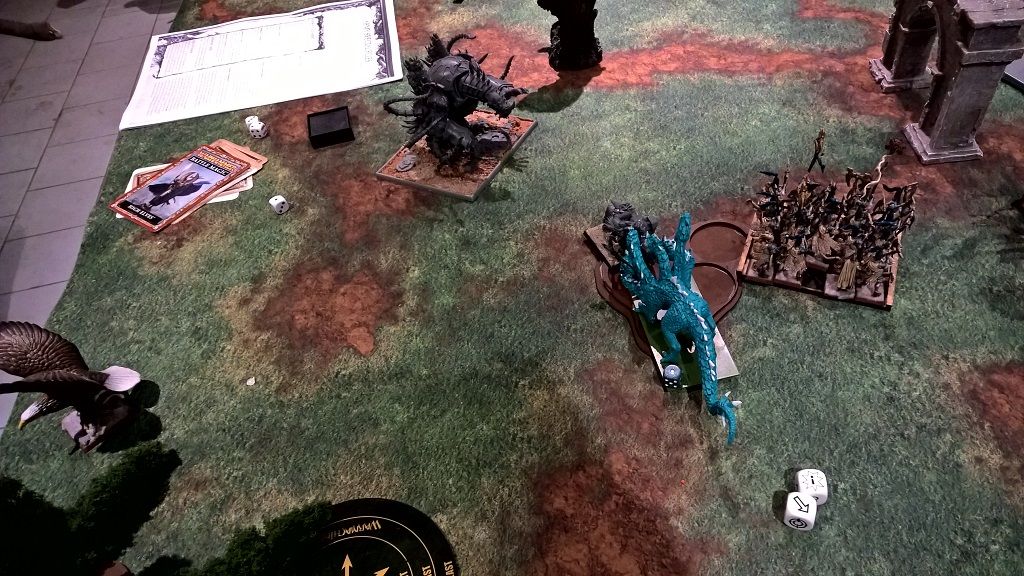
I threw the Lion Chariot and Medusa into the flank of the big hammerer block. The fight was inconclusive. The dwarves opposing the bus were wiped out, and the Helms reformed to face Bugman's unit. The Seven Swordmasters, having seen off the Miners, moved up to threaten the tower or possibly a flank charge. (I probably screwed this part up

)
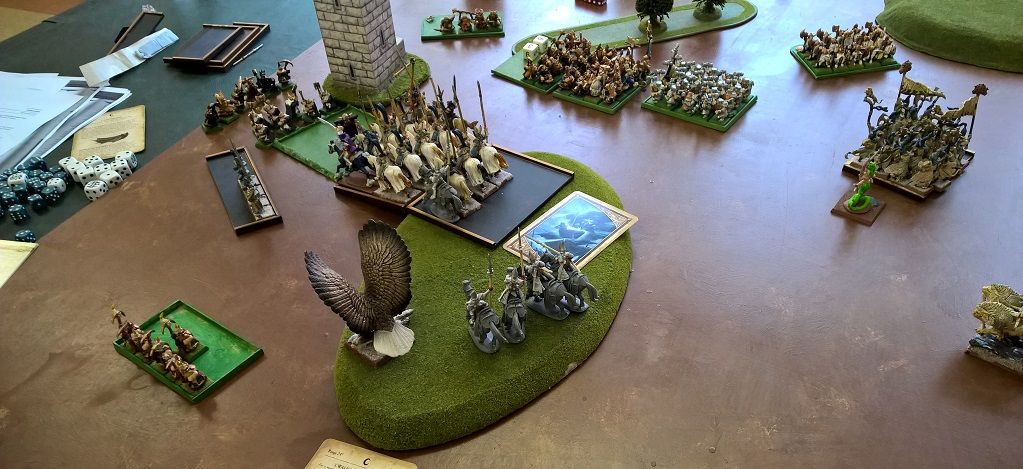
In his Turn 4 he charges Bugman's unit at the Medusa. I don't technically think he can make the wheel but not wanting to be a complete jerk I tell him I am happy to let it happen. It's only because I didn't kill enough of his hammerers that that movement was blocked, I did think that the Medusa would probably expose me to a charge but she's Frenzied and would have gone in against my wishes anyway. His Battle Standard Bearer fails his Avert Your Gaze! and takes a wound, another model (I think the champion) cops a full strength Killing Blow and is slain. Bugman fails his Initiative test but passes his Ward.
Turn 5
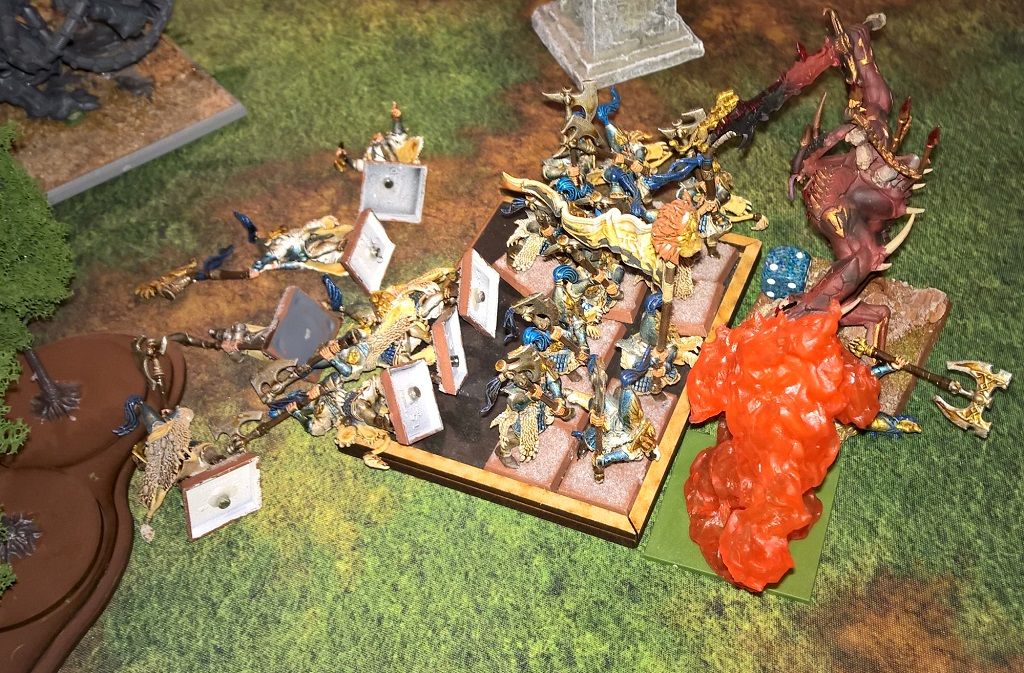
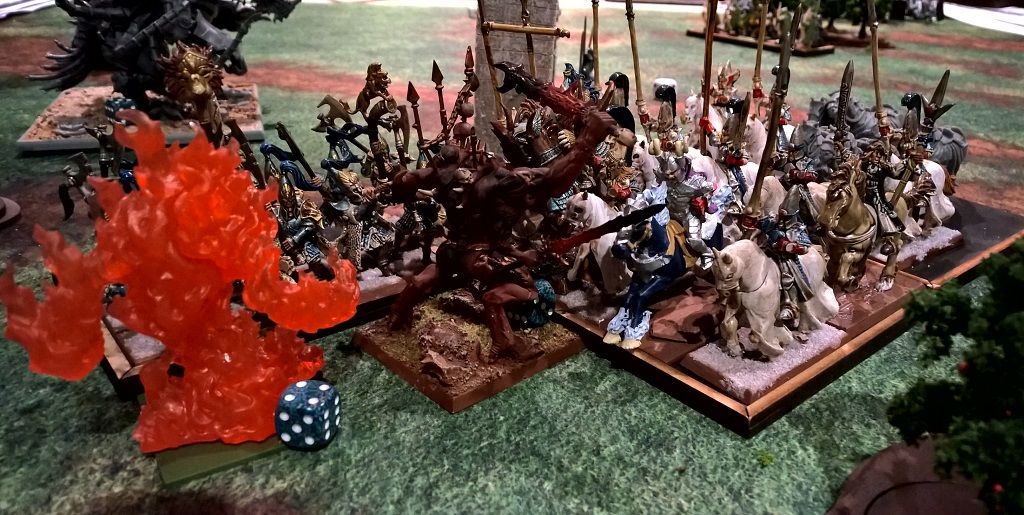
Unsurprisingly on my Turn 5 I throw everything I can into this brawl. Ladril challenges, and the Battle Standard Bearer has the Oathstone and so is forced to accept. Already wounded by the Medusa, he stands no chance against the Dreadlord's Ogre Blade and is slain. The charge is devestating, and I win combat, but the dwarves are Stubborn and well-led so they hold. In the ensuing turn, without the charge impetus, I actually lose the combat. Ladril challenged but did not kill the Runelord. White Lions died by the score as the dwarven great weapons took their bloody toll. Bugman hacked away at the Noble bearing the Battle Standard, but the anti-magic enchantments in the Banner of the World Dragon stole the potency from Bugman's axe. Although disheartened by the losses suffered by the White Lions, the High Elves remain resolute and continue to hack away.
Turn 6
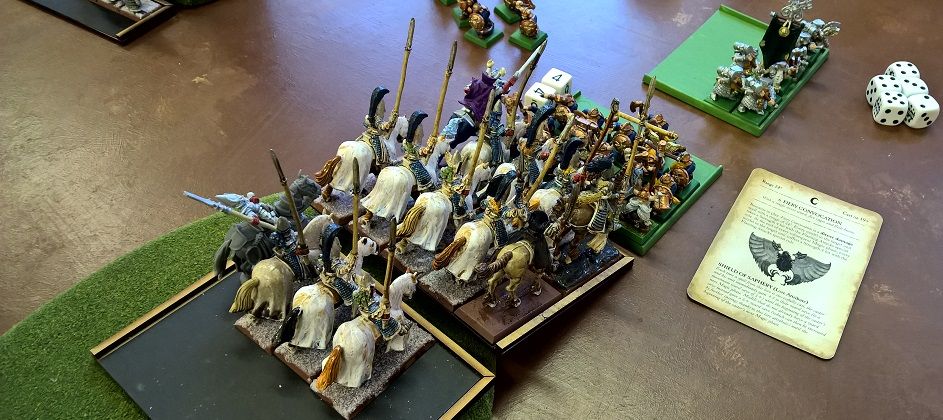
The Archmage gathered the Winds of Magic to himself and cast forth a Fiery Convocation on the large Dwarf unit. It decimated their ranks. Not content with this display of arcane mastery, he then joined the helms as they attacked the dwarf warriors before them. As Bugman fought for his life against the ensorcelled protection of the elven nobles, the Archmage slipped his sword unnoticed into Bugman's side. The dwarf lord fell, and with his loss the entire host was defeated.