GAME 2 - BEASTMEN
Introduction
So, I was mad about my performance in the last game and was determined to put on a good show here. And the opposing army was an interesting challenge in this respect. I hadn't played beasts in ages and this list looked as if it had some nasty anti-elf weaponry. Facing me was (roughly):
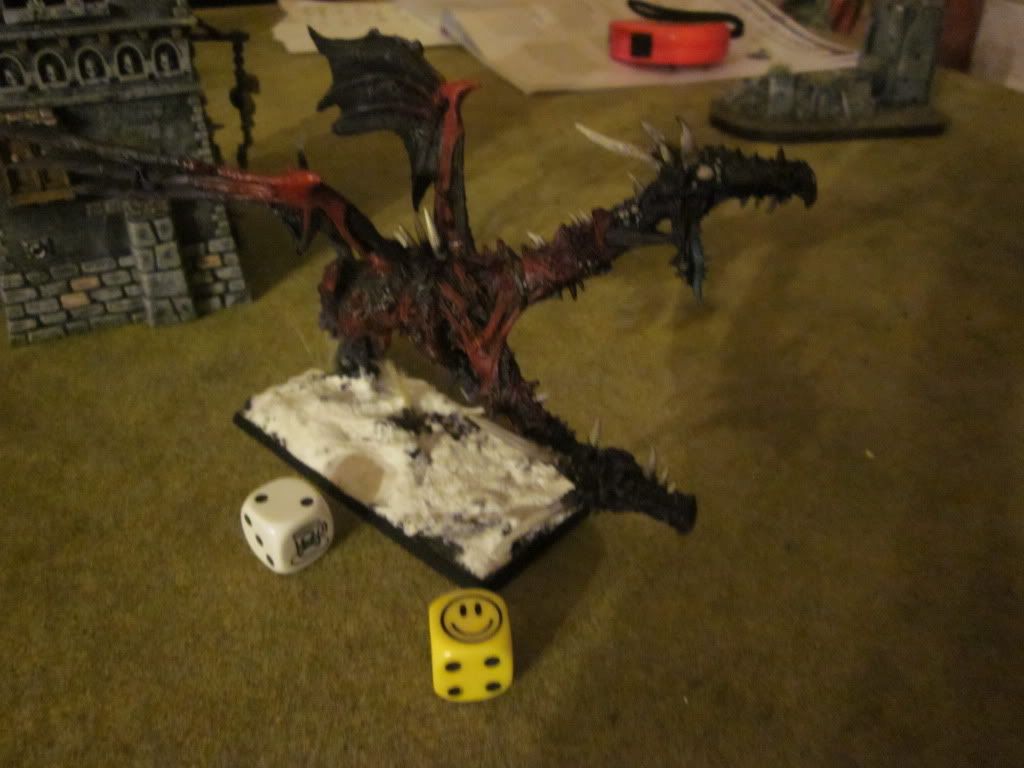
Flying Doombull (magic carpet, killy stuff)
Beastlord (general), 1+ AS granting attacks when saves made, killy stuff
BSB – Beast Banner (I think - one of the fighting characters certainly had the item which nerfs armour saves of units within 6” or 8” by 1)
Level 2 – Beasts – Stuff (my opponent didn't have a scroll)
Level 2 – Beasts – Power Stone (for Transformation)
38 Gor – extra hand weapons, full command
38 Gor – extra hand weapons, full command
5 Raiders
5 Raiders
5 Raiders
5 Harpies
5 Harpies
5 Harpies
3 x Razorgor Chariot
3 x Tuskgor Chariot
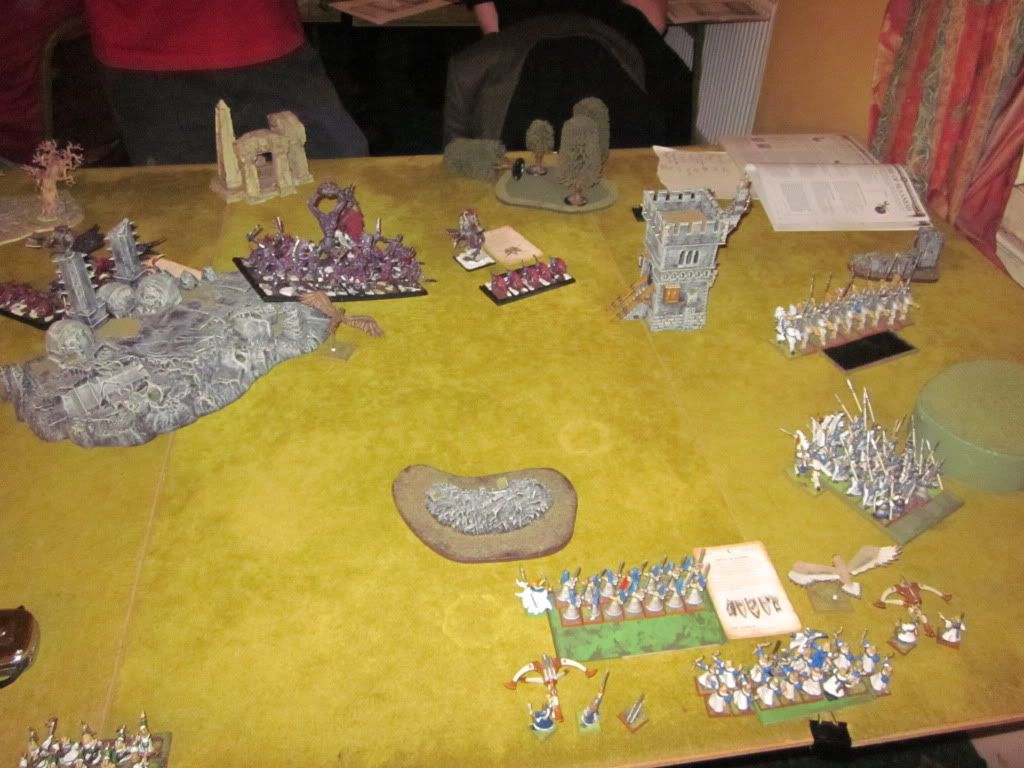
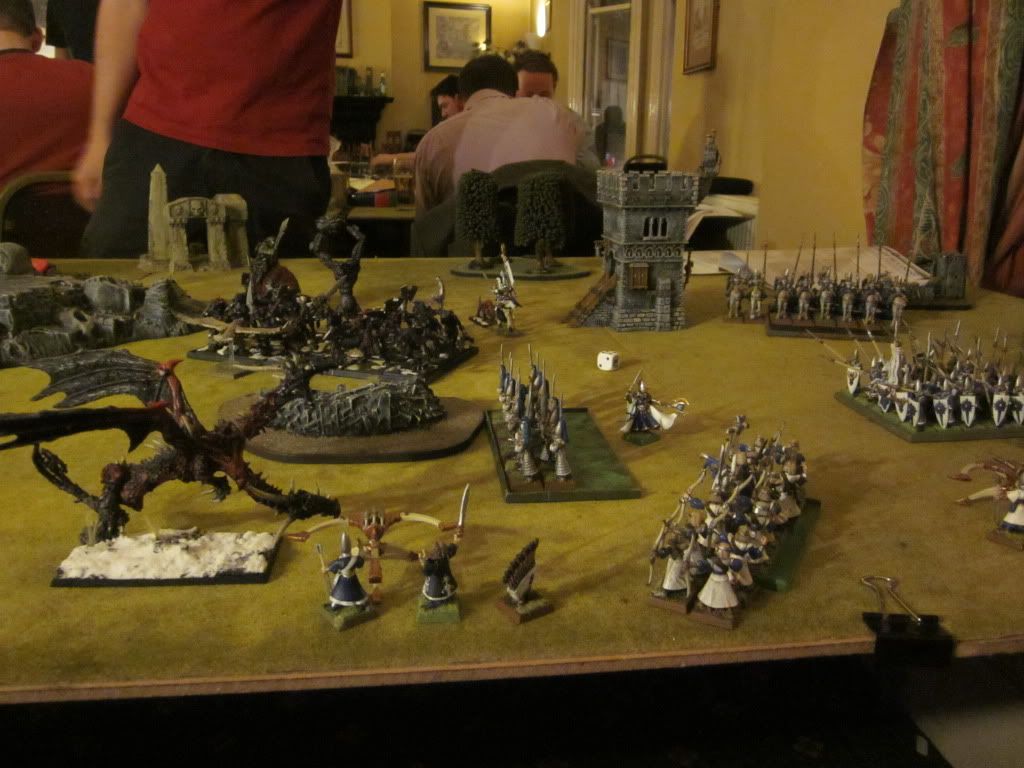
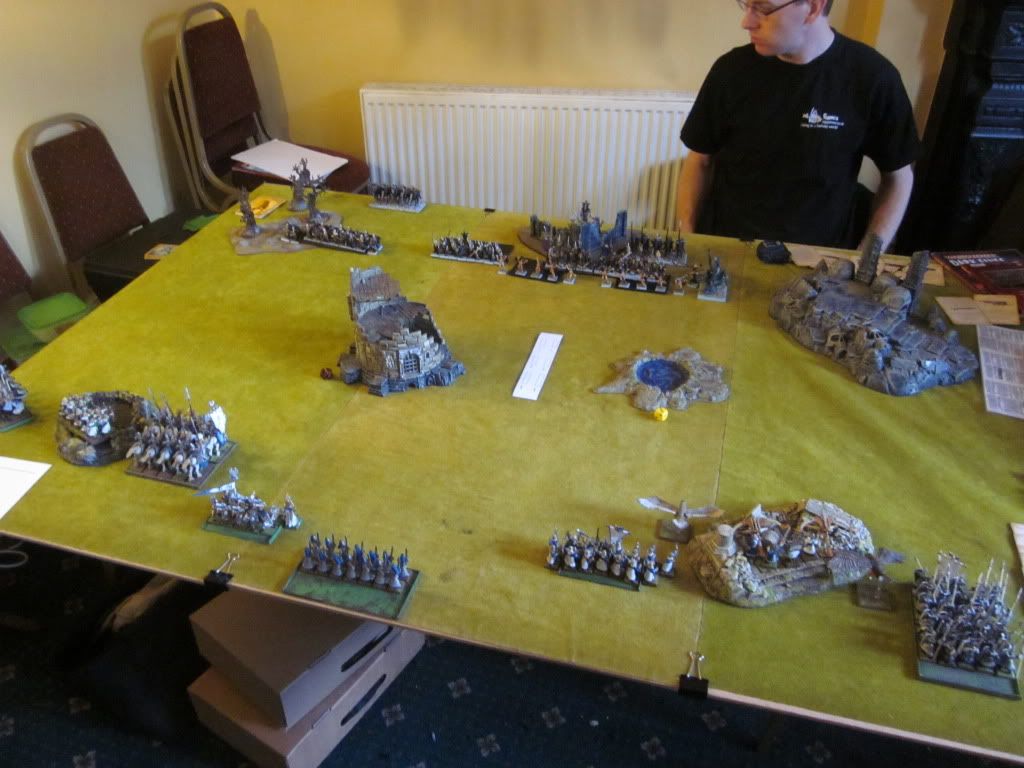
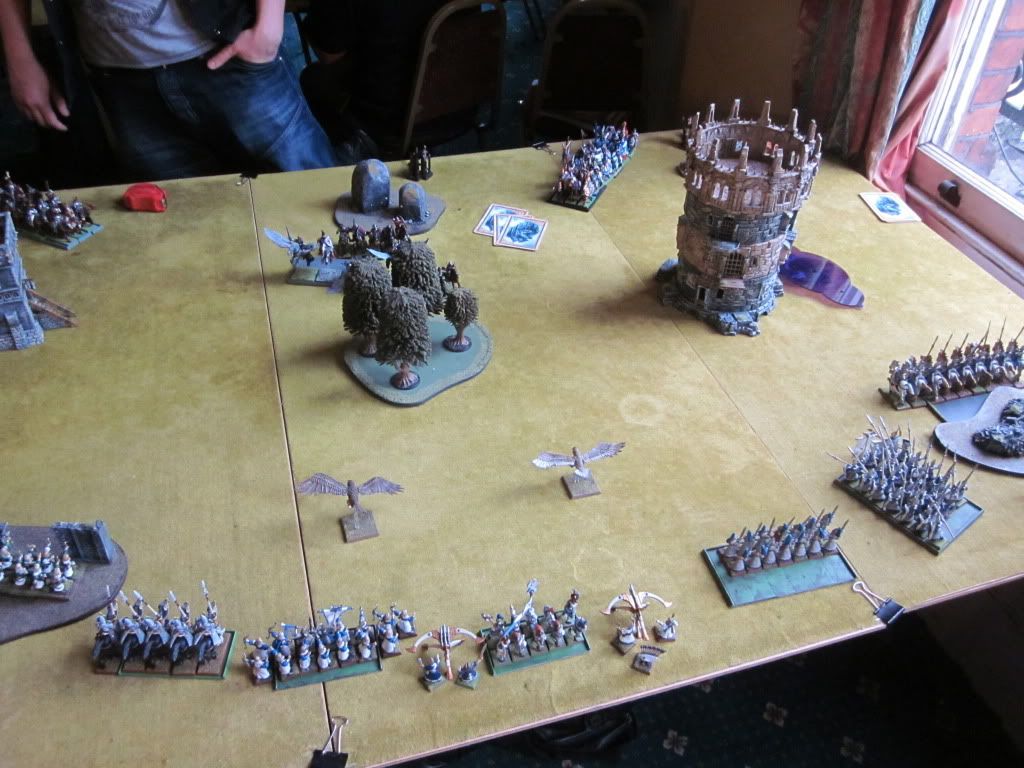
Deployment
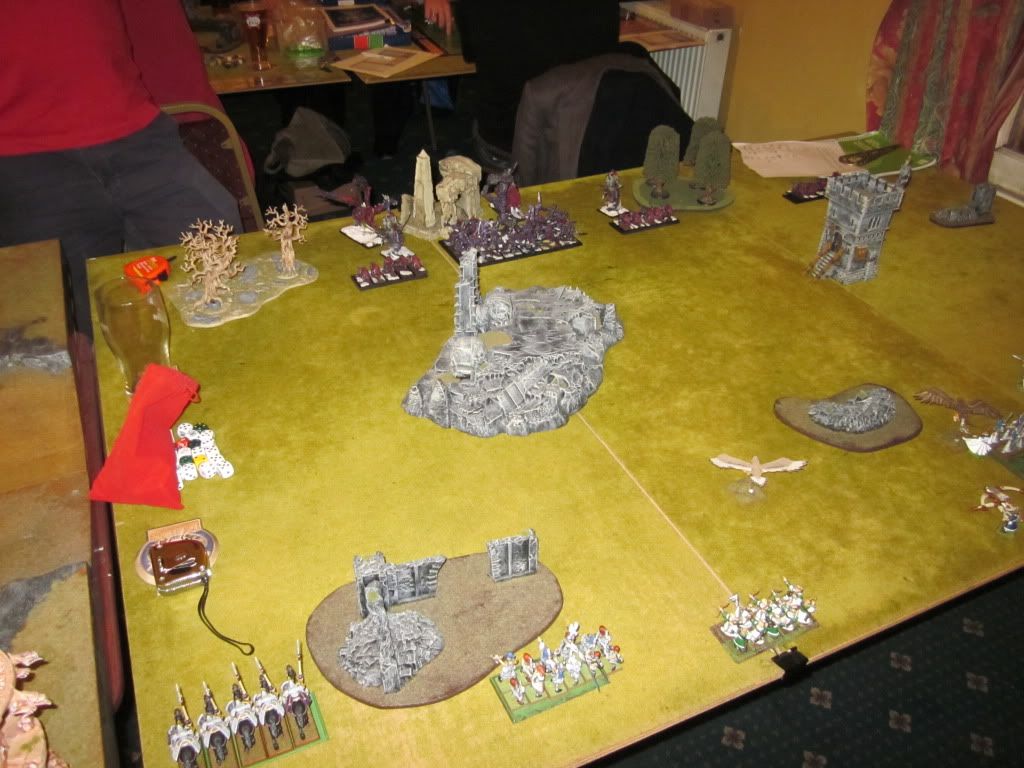
This guy easily had the drop on me in deployment, and I didn't like it! But his army was of such a kind that, although he did not have to make his big infantry drops for ages, as very wide and very slow units they were bound to go in a particular part of the board, so I was able to bear this in mind when I deployed and try and use the terrain on my side to my best advantage.
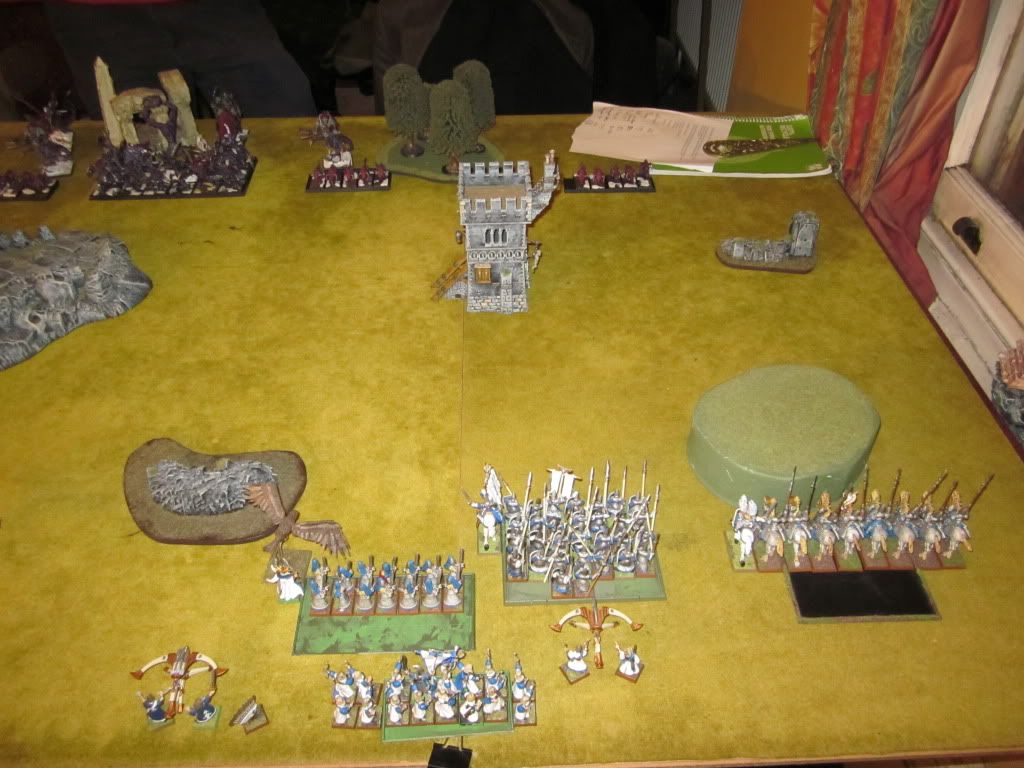
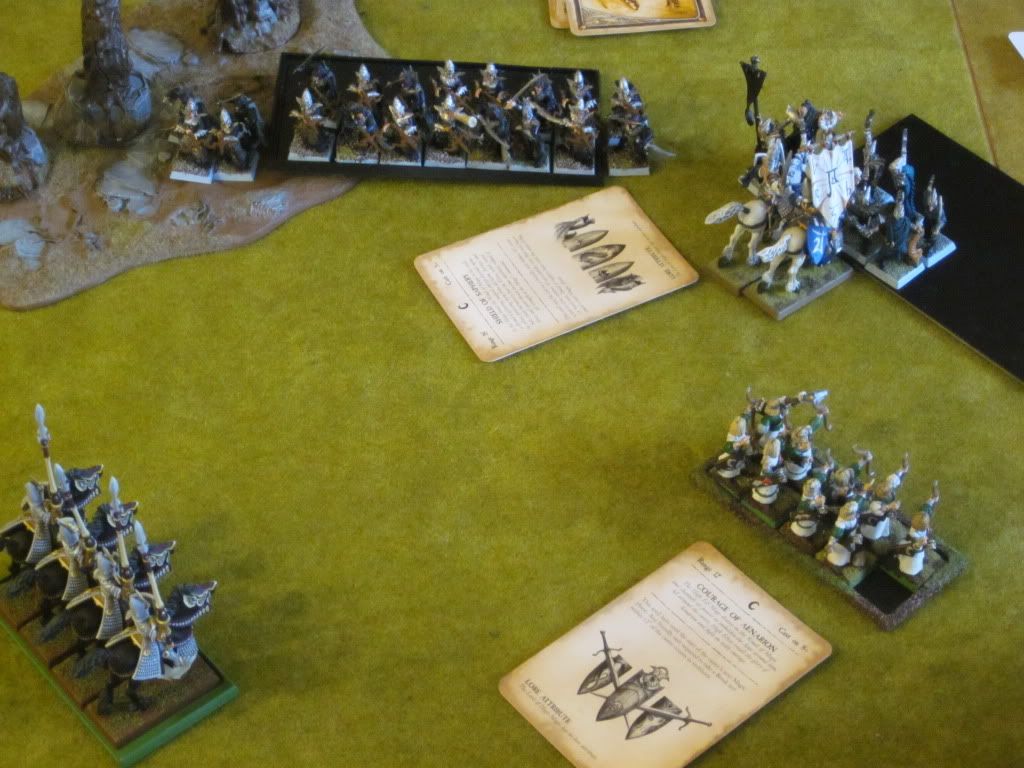
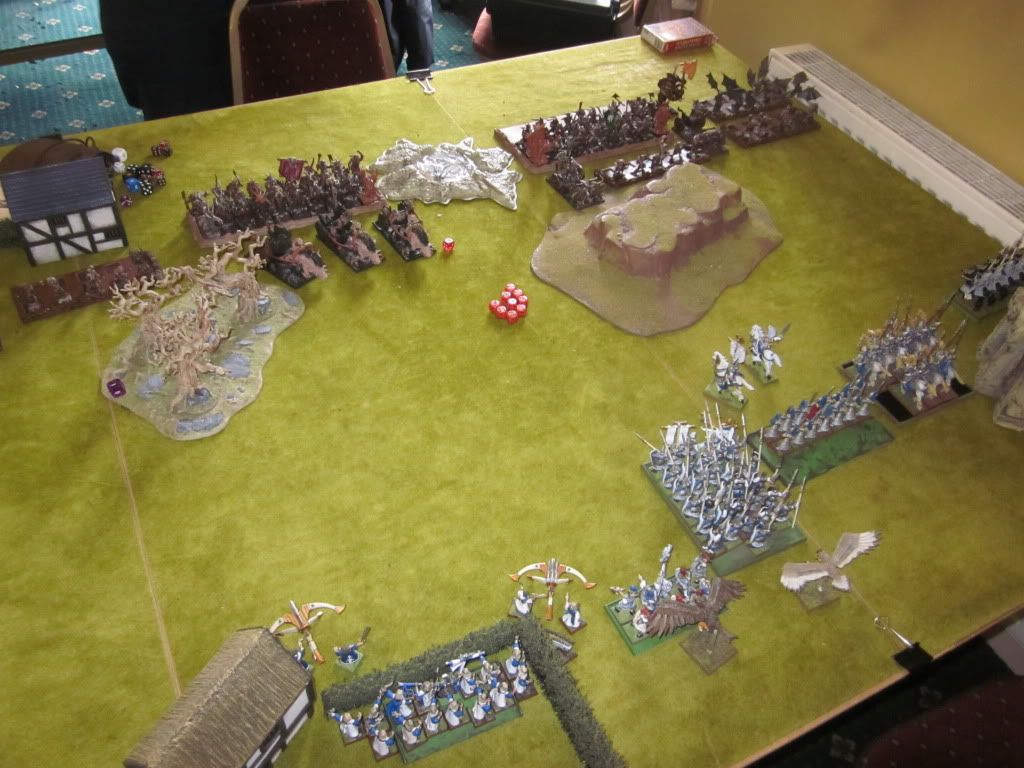
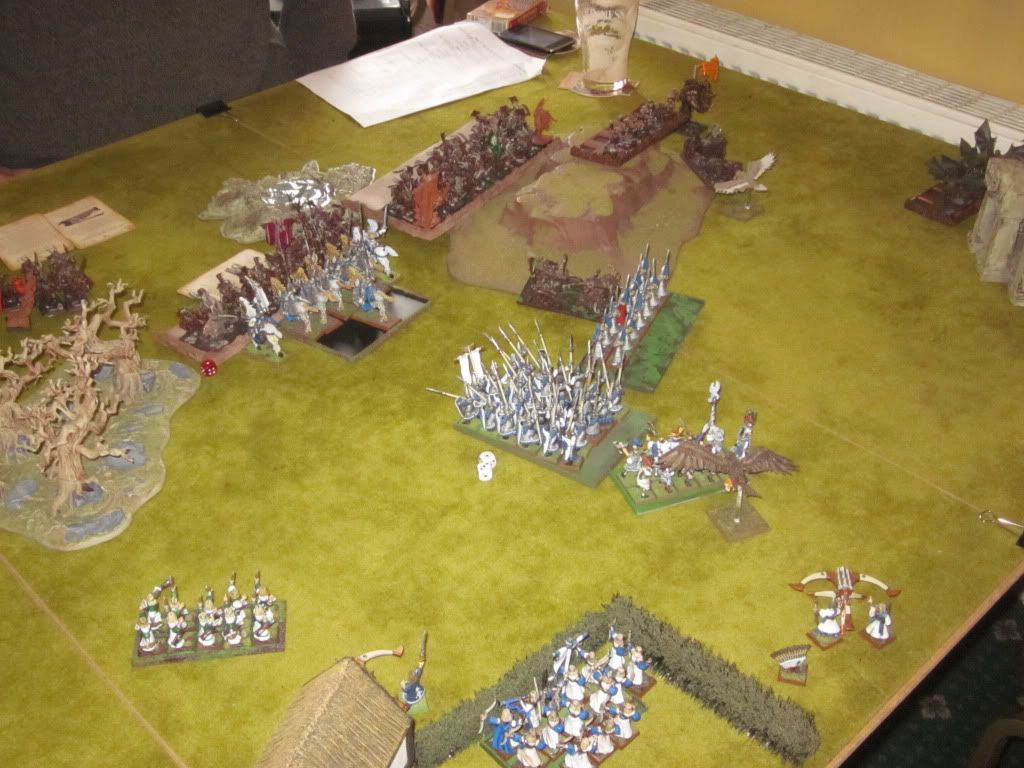
It was pretty cluttered: a two-story building about 3/4 to my left with a hedged enclosure just big enough to accommodate the blue archers. Just outside the hedges, on either side, stood the repeaters. To the right, the infantry: white lions, spears and then swordmasters, all centrally deployed. Then came the silver helms with their commanders and, on the far right flank, the dragon princes.
 High Elf left flank
 High Elf right flank
Now, you may think (since I had to deploy these units before my opponent deployed his powerful drops), that I was being forced to give a lot away here. My cavalry were going to try and hammer his left flank while my infantry engaged the centre (somehow not being torn apart by chariots in the process) and my shooting held the left flank. For sure, this plan would have problems. He had his strong Beastlord horde stood directly opposite my helms, backed up by the Doombull and flanked by two chariots. In the centre, opposite my vulnerable infantry, stood the second horde and a total of 5 chariots (3 of them razorgors - arrgh!) and, covering both flanks (especially my left), an array of light units to close in to pick off my machines and hold up my cavalry. If I just threw my knights forward, they’d likely get tarpitted, perhaps overwhelmed, and my elite infantry would be left exposed to chariot devastation. Bottom line, if I played like I did in the last game (pretty much without any imagination), I would quite likely lose.
But thinking this way would be forgetting some crucial factors: the speed of cavalry, their ability to redeploy, my ability to run the characters as separate units (especially since my opponent had gone for buffs and lacked the Amber Spear) and the presence in the mid-field (toward my right-hand side) of two tall hills which blocked line of sight to and from my knights. This effectively created a no-man's land in the middle-right of the board. Whoever wanted to advance in the mid-east would have to take these hills but, if they did so, they would immediately be open to a charge by the opposition. The only exception was on the
far east, wherein stood a clear path to the flanks of both armies.
As justice dictated, I won the first turn and took it with pleasure, hoping to put a few bolts into those chariots…
High Elves Turn 1
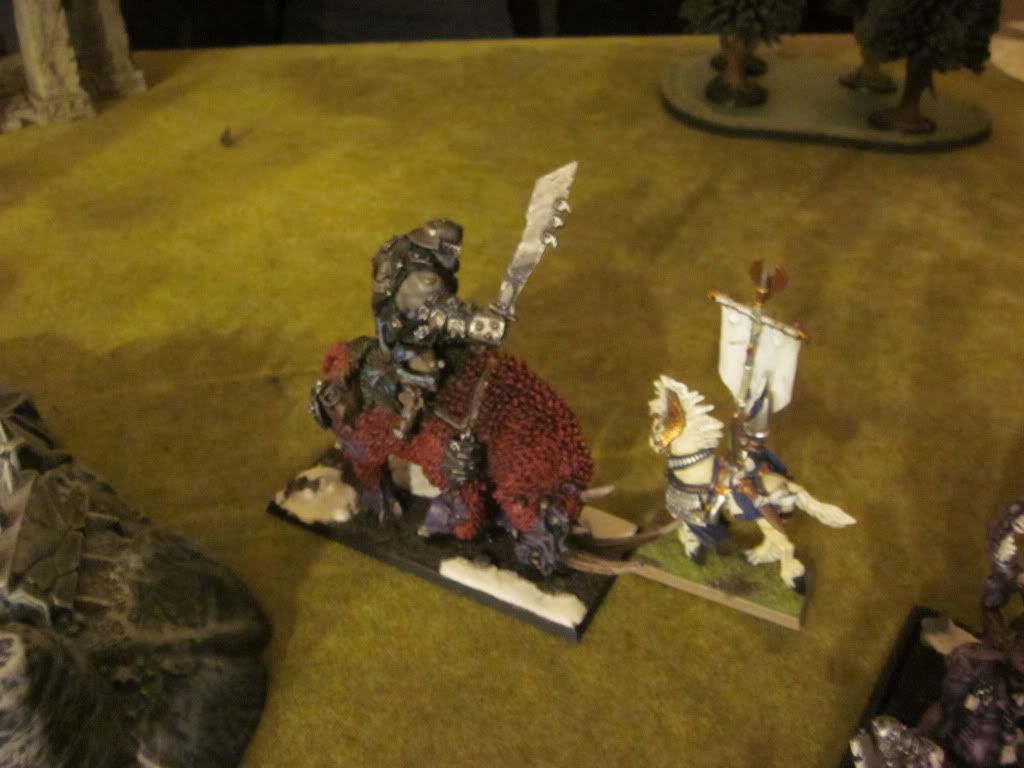
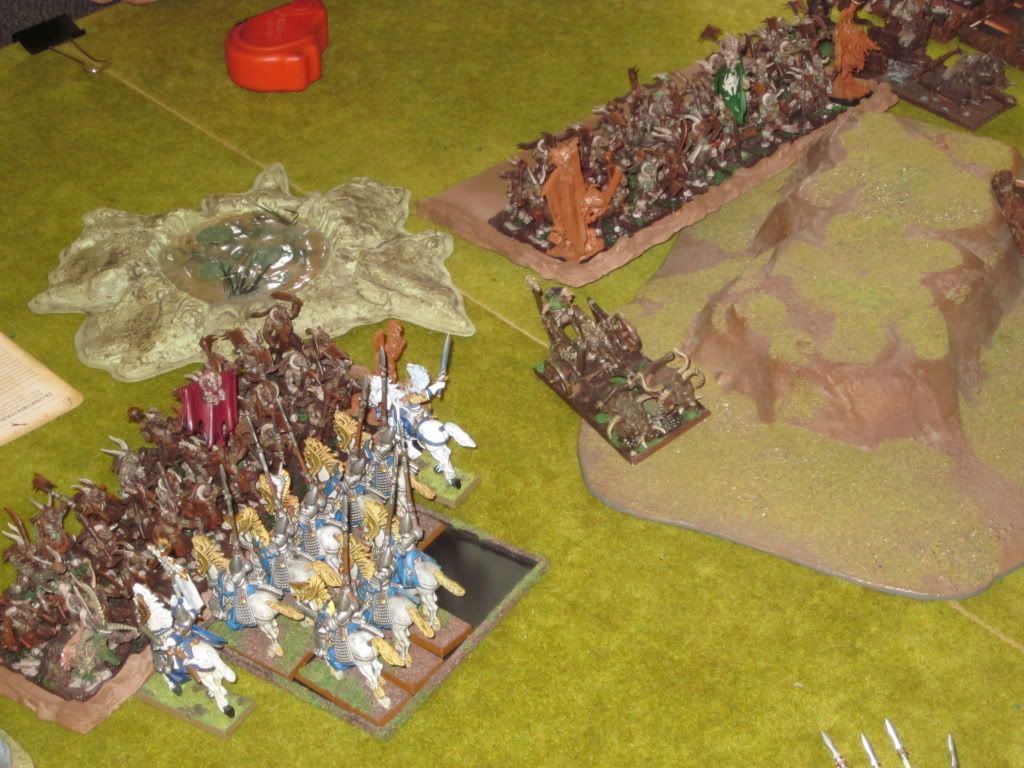
Seredain and Caradath immediately spurred their steeds and galloped left, in front of the infantry, to act as armoured bastions and threaten some long charges against the enemy chariots. The spears, more comfortable taking a chariot charge than others ("Ah yes mere infantry, poor beggars"), advanced a little in the wake of their nobles to better cover the elites and bring Lecalion within range of some decent targets. The silver helms stood their ground, meanwhile, since they had plenty of options open (being centrally deployed), in particular the ability to cover any advance by the two most easterly of the central chariots (one tuskgor and one razorgor).
In all, then, facing the 4 chariots in the centre I now had my shooting phase, magic phase (a good aggressive setup of Flames, Fury and Arrow Attraction, plus Shield and Drain), with some direct protection from three fast armoured units, each capable of holding or destroying a chariot. On my far right, the dragon princes stood stock-still, covering the field in front of them to dissuade any aggressive counters from the two chariots there.
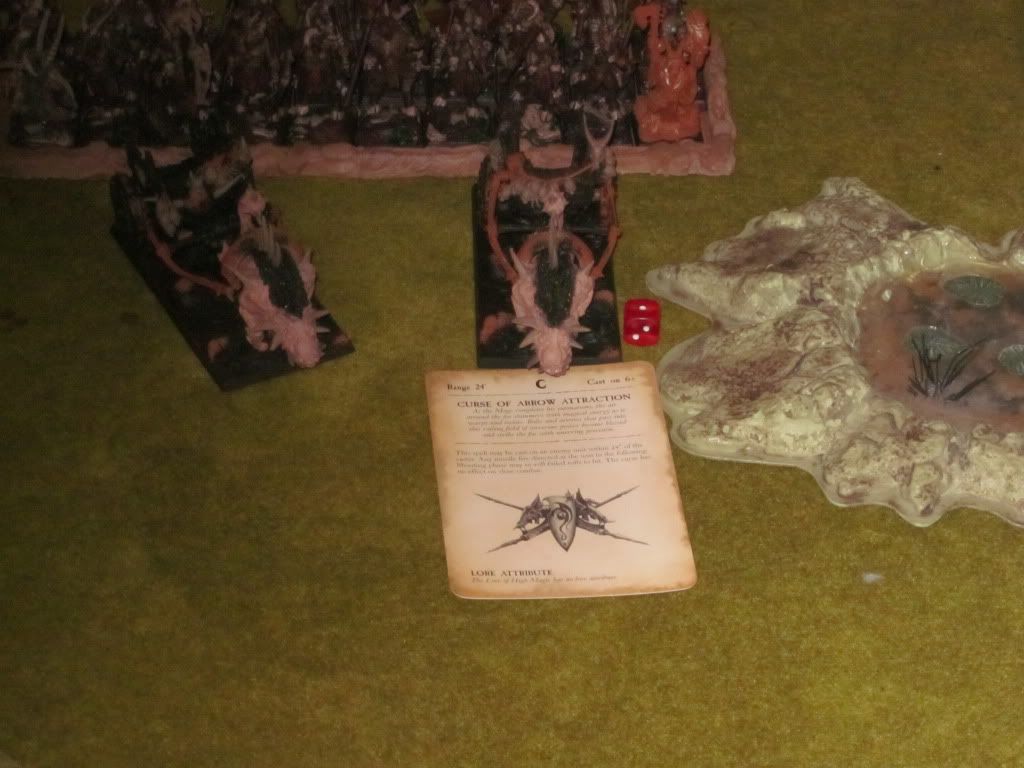
A rubbish roll for power dice saw Lecalion only throw Arrow Attraction on the easterly razorgor chariot. My opponent failed to dispel, however and, with one dice left, I threw Shield on the prince.
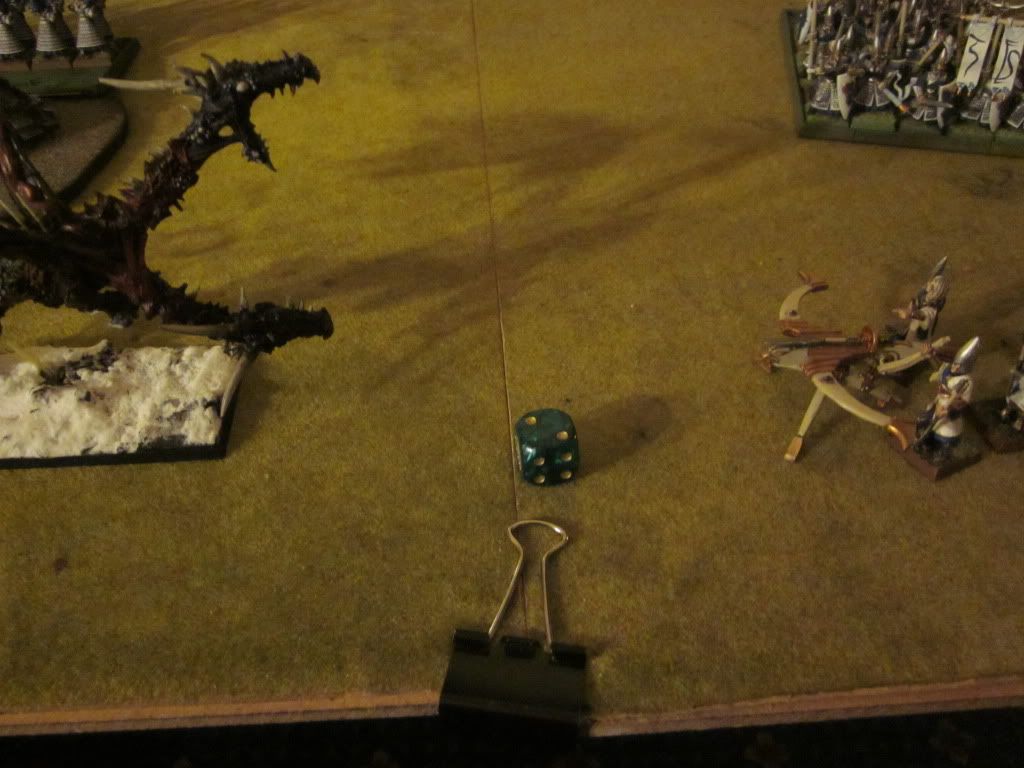
Shooting began well as the green archers, camped in the building, put 3 wounds into one of the units of harpies and promptly panicked them off the board. But Luck then duly deserted me, as a hail of arrows and bolts into the cursed chariot produced few hits (in spite of the re-rolls) and only one wound. I’d have to do better than this at range else my cavalry would soon have a lot of work to do!
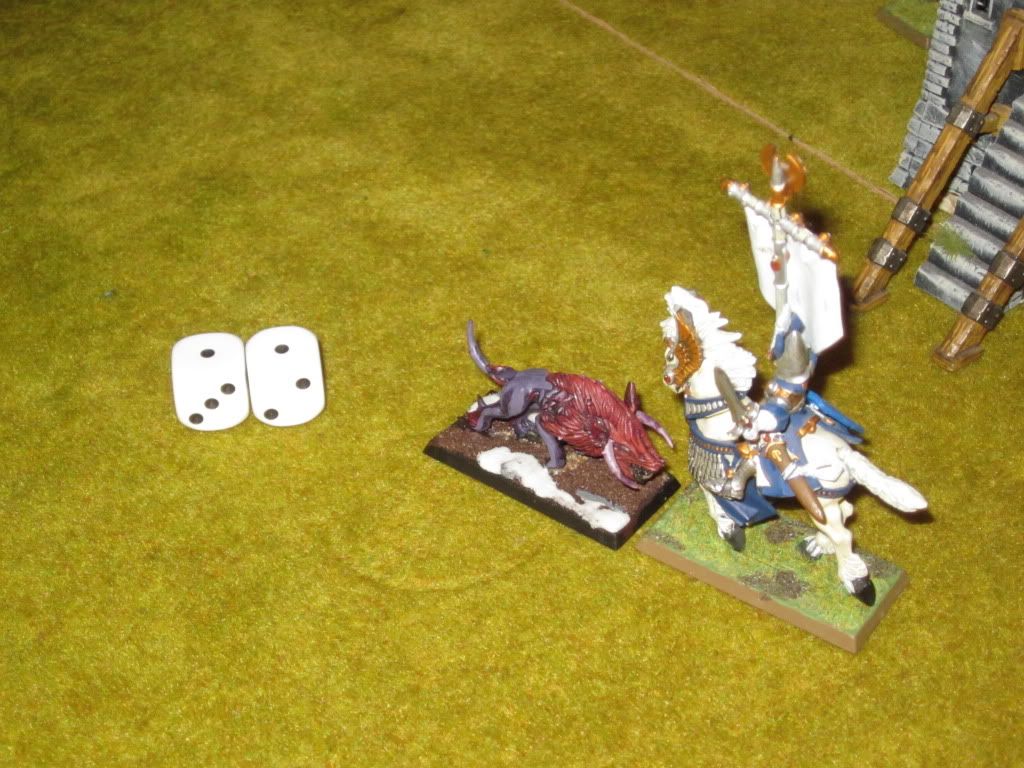
 One lucky hog
Beastmen Turn 1
One lucky hog
Beastmen Turn 1
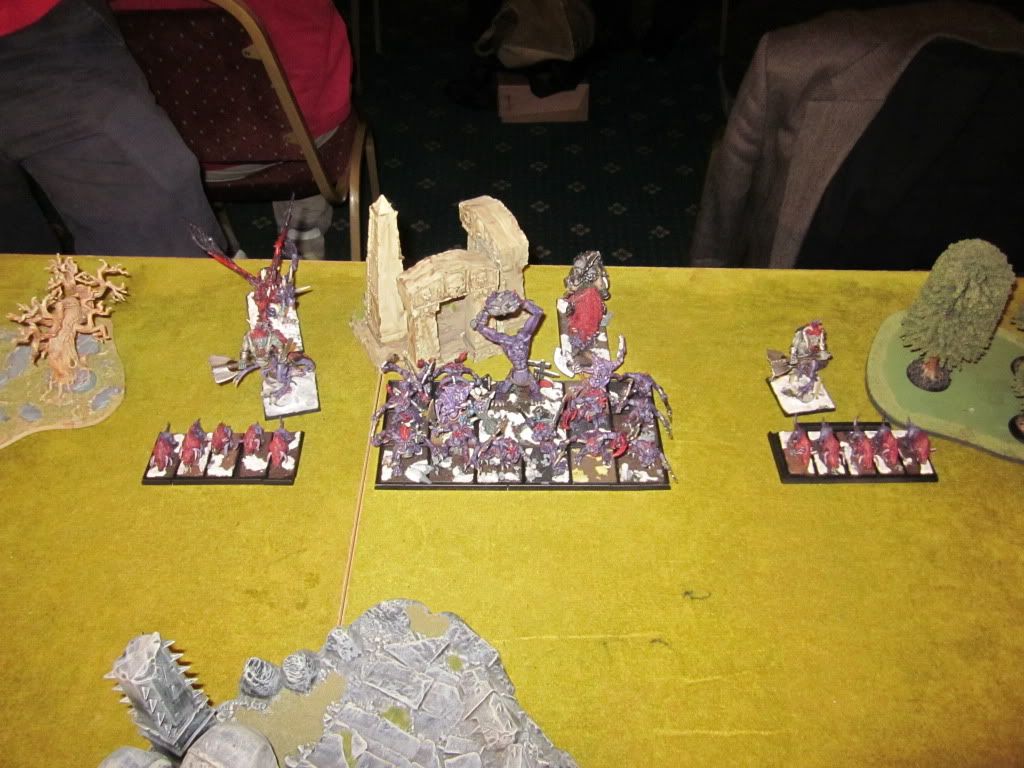
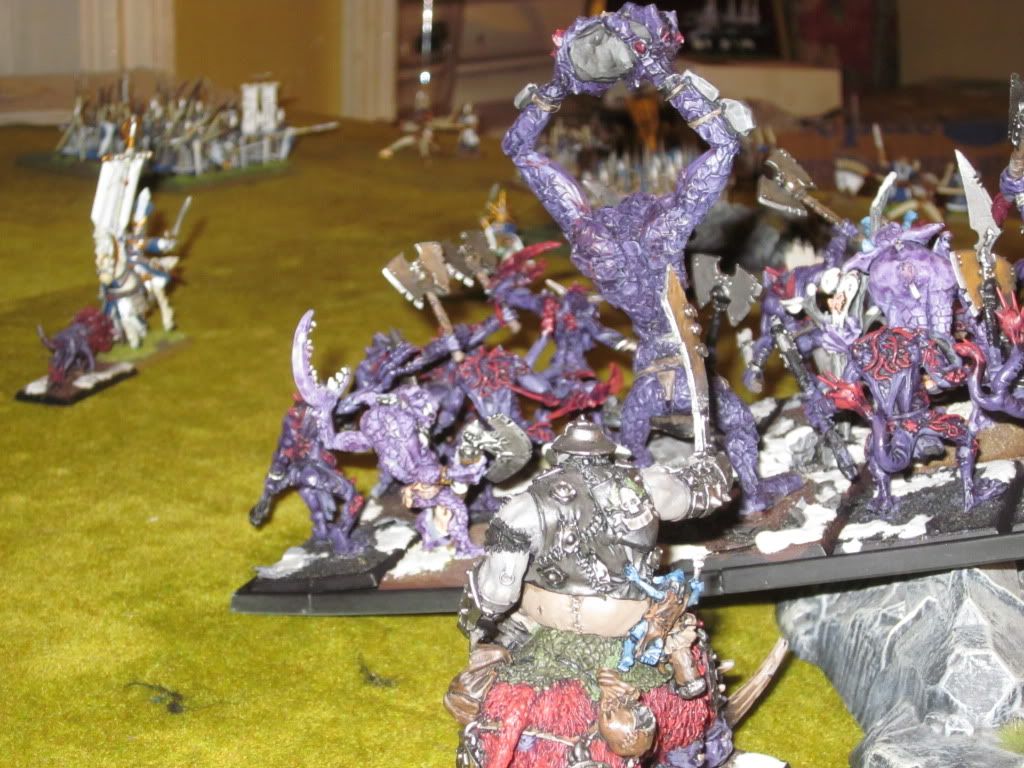
Unsurprisingly, every thing moved forward in a pretty even line, with the infantry and chariots keeping pace with one another. And… that was pretty much it. The Doombull was hiding his magic carpet behind his back for the moment (and I had no idea it was there…). Magic saw a lame 7 v 6, but a disastrous dispel roll from me (including three 1's!), saw a Str/T buff go up on the shaman-horde to protect it from Flames.
 The hordes and chariots come trundling forth.
High Elves Turn 2
The hordes and chariots come trundling forth.
High Elves Turn 2
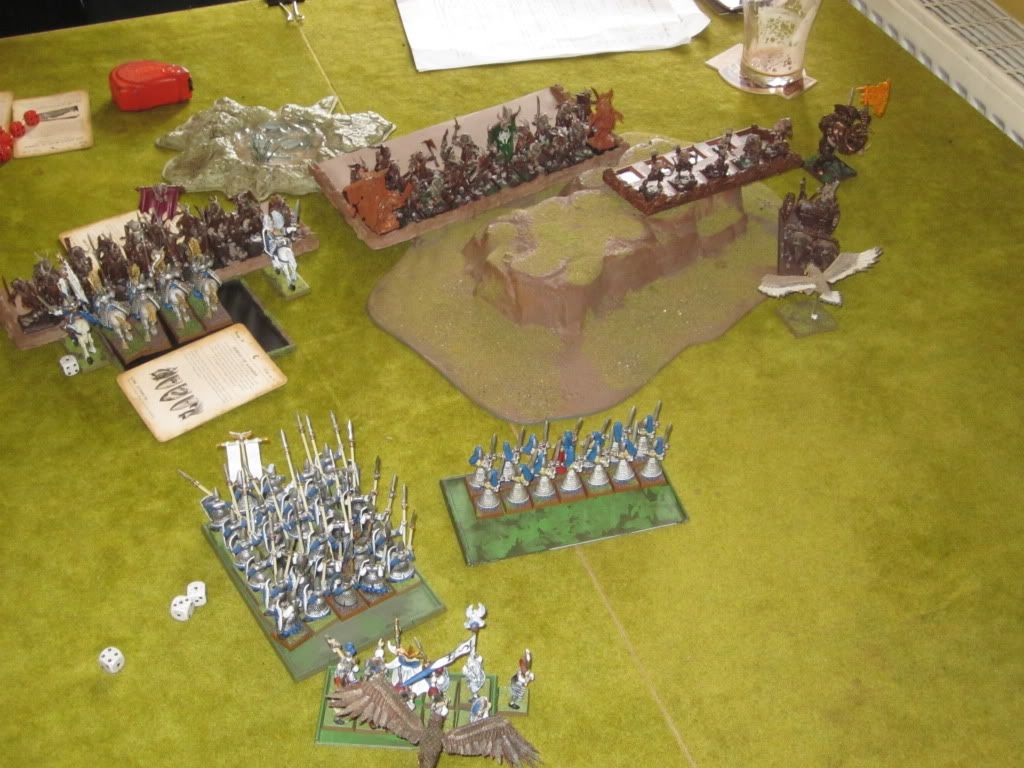
Since I had the advantage in ranged power, it was up to the beasts to come to me and, as I had the helms, dragon princes and eagles checking any rapid beastman moves into my right flank, and the bastion of green archers covering the enemy light troops on the left (for now at least), I felt comfortable holding ground in the centre. Seredain, Caradath and the helms all moved forward just a little, then, to threaten some long charges on the chariots and force some awkward choices on them next turn (stand and be shot, or advance and be charged?). In the meantime, it was time for shooting and magic to perform.
A decent number of dice came up again – 9 v 5 after a successful channel from the Lecalion. First, Flames of the Phoenix on his lord horde got rid of all his dice (a big cast on 3 dice which he was very keen to counter), and I was free to follow up with a Fury on the wounded Razorgor chariot (the one nearer the helms), dragging 2 more wounds off of it (leaving it on 1) and an arrow attraction on another razorgor chariot. I had a couple of dice left, so I cheekily plonked another Shield on Seredain and then threw Drain Magic up. Ah, I love cheap spells!
Shooting needed to perform and, this time, did so admirably. Arrows from the blue archers and bolts from their attending machines arced through the sky and pinned the cursed razorgor chariot to the ground. Since Lady luck wanted balance, however, the green archers failed and only pulled down a single raider from the formation advancing on their building.
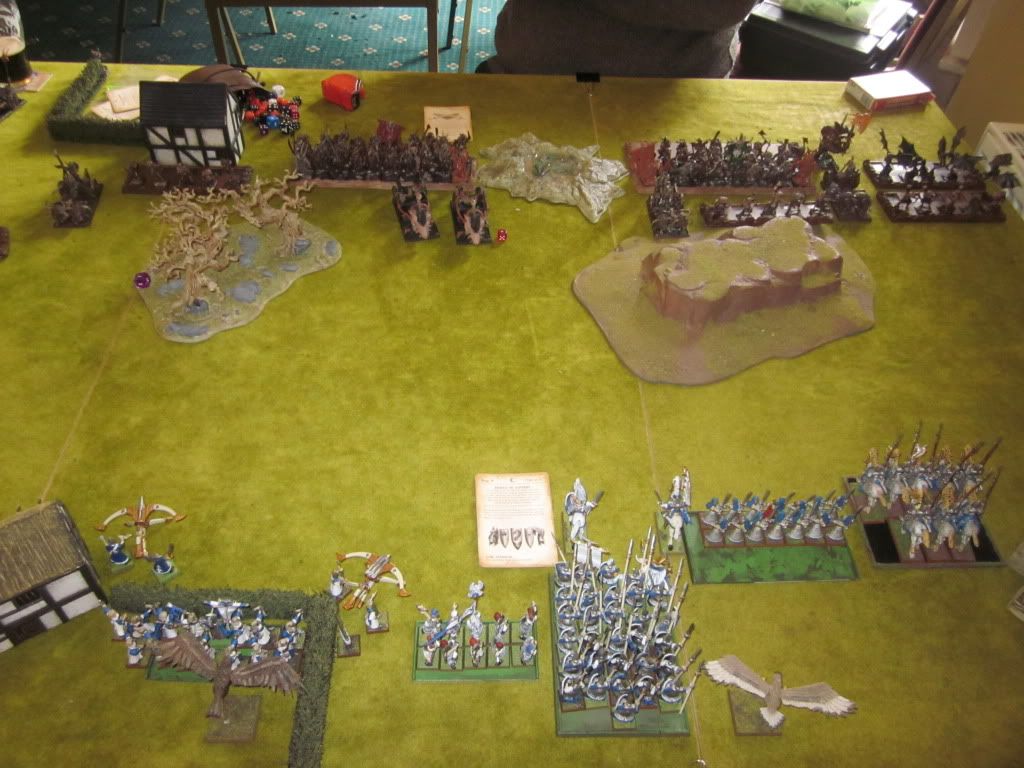 As High Elf archery begins to take its toll, the noble commanders re-position themselves to defend the centre of the line.
Beastmen Turn 2
As High Elf archery begins to take its toll, the noble commanders re-position themselves to defend the centre of the line.
Beastmen Turn 2
Another round like the last one and my opponent's chariotry would be in trouble. Since, however, there was no way he could get them near the elven infantry without inviting a charge from the cavalry, they were in a pickle. So, he decided to roll the dice (literally) and try a series of long charges from the three chariots in the centre- two needing 11 and one needing a 10. Not surprisingly, none of them made it and the chariots continued to rumble forward, now within comfortable charge range of my knights and with the shaman-horde in their wake. The rest of the beastman line came on as it had before (the doombull still sneakily concealing his carpet). Light troops from my right now rushed forward to throw javelins at the swordmasters. To the West, the (slightly) damaged unit of raiders likewise approached within javelin-shot of the green archers' building.
Magic and, with Drain Magic rolling through the sky and a High Elf archmage backing it up with +3 to dispel (cracking), my opponent couldn't get anything off. Shooting saw a few javelins fly but none of them accurately.
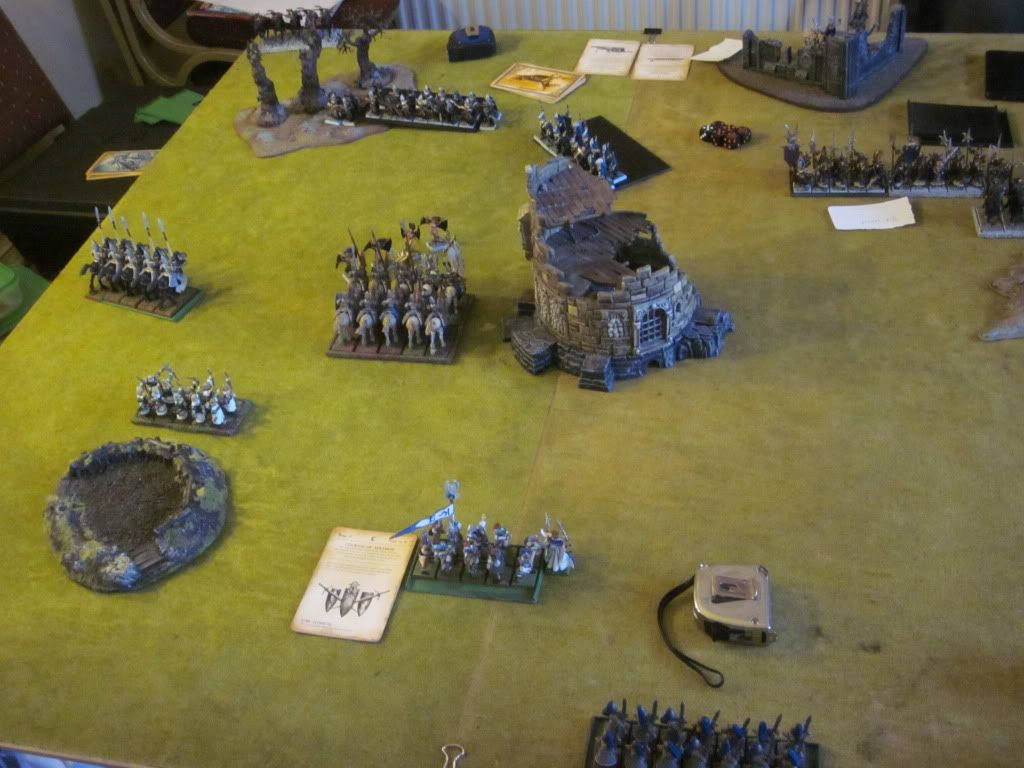
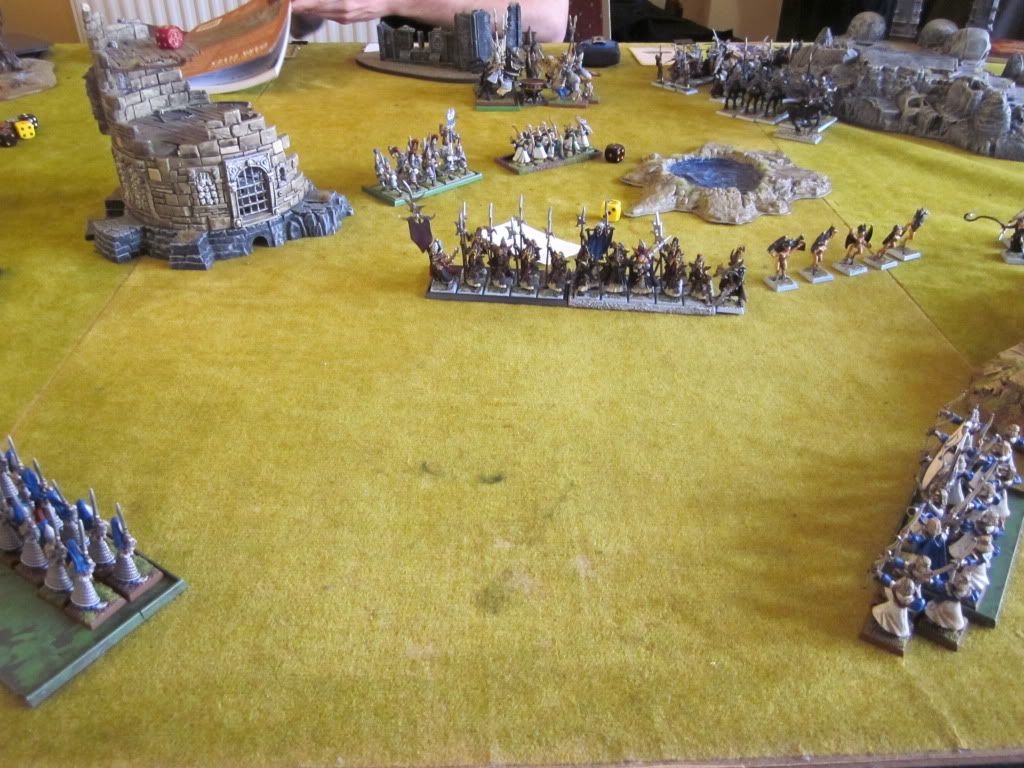
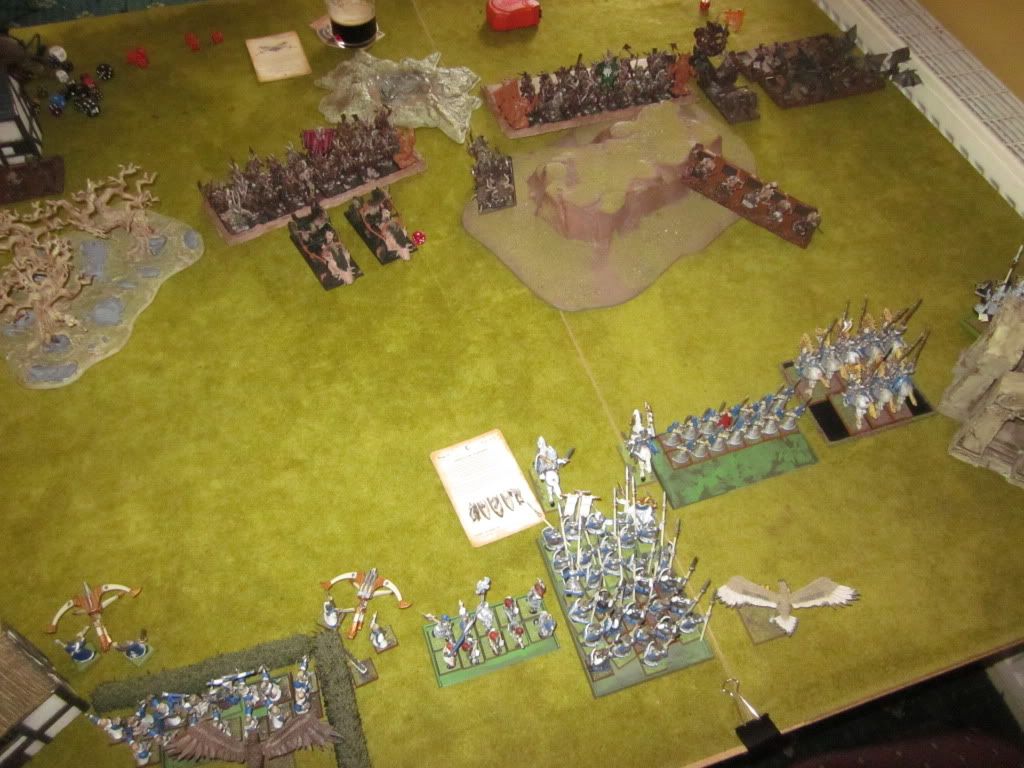 The battlelines draw closer, and the enemy are greeted by the sound of galloping hooves...
High Elves Turn 3
The battlelines draw closer, and the enemy are greeted by the sound of galloping hooves...
High Elves Turn 3
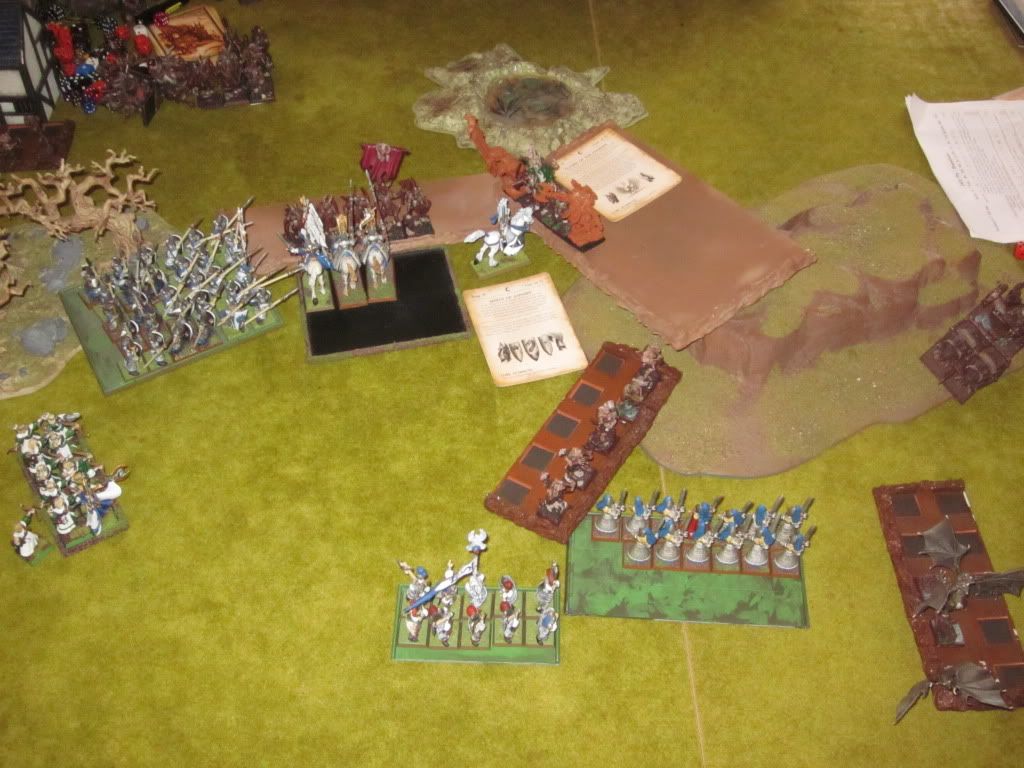
Now that arrows and magic had done some work, it was time for lances and swords to do theirs. The silver helms suddenly swung left and declared a charge into the nearest (injured) razorgor chariot. Caradath declared against the same chariot while Seredain charged the other alone. Not wanting to block off the shaman-horde or put 2d6 impact hits through it, both chariots held their ground and hoped for the best. Unfortunately for them, all the elven horse successfully covered the gap.
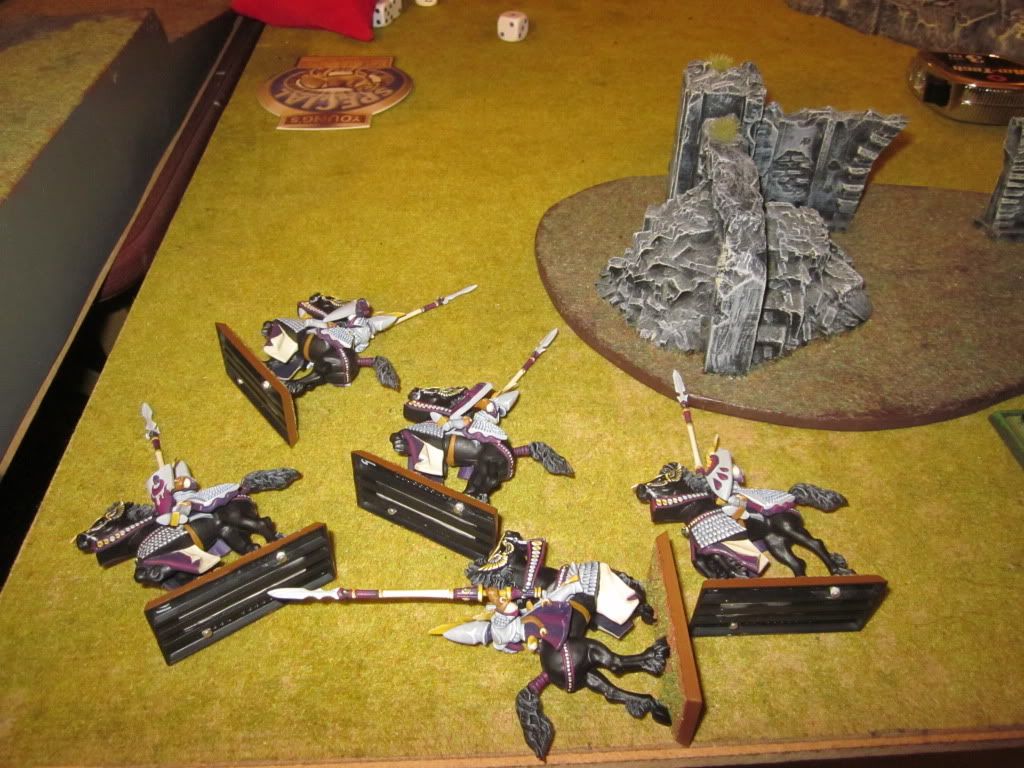
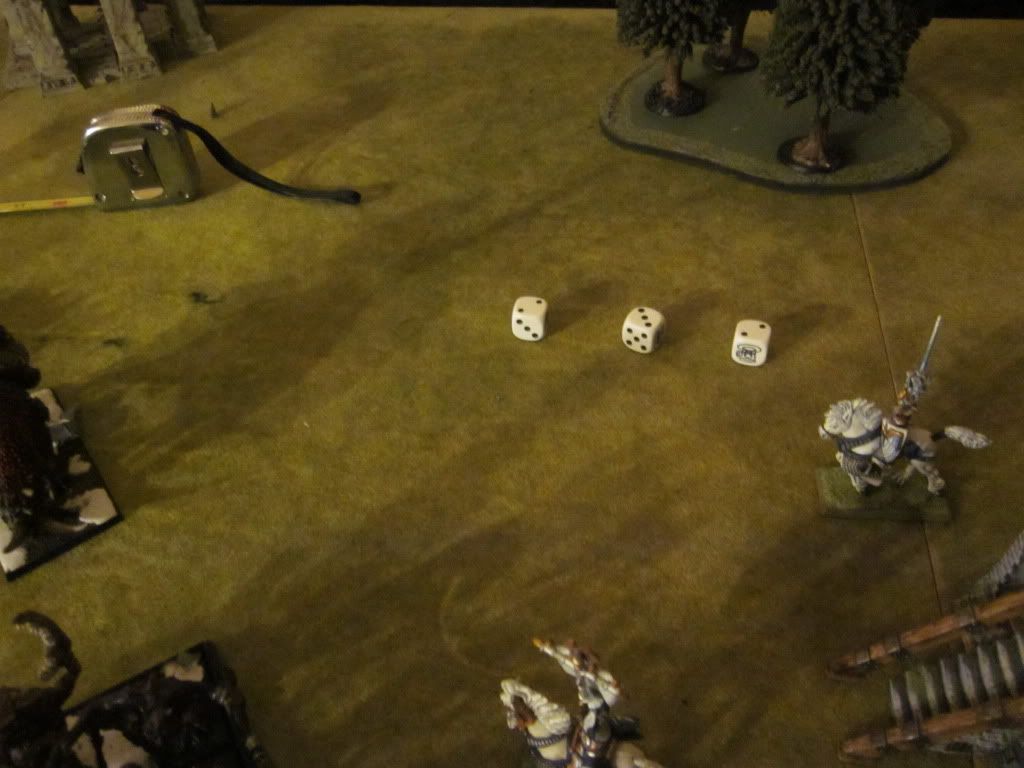
It didn't all go my way, though. My opponent had marched his doombull up alongside the infantry and left exposed some light units which, if charged, would provide an easy path into the enemy's back field. Sensing an opportunity to cause mayhem, therefore, the dragon princes declared a long charge into the raiders before them (needing a 10) and promptly failed it.
In the wake of the charge in the centre, the spears (now unafraid of chariots) marched on as fast as they could to bring their ranks into play. The white lions rushed on behind to offer support later (by pivoting to cover a flank) and, importantly, to get out of line of sight of the last chariot on the left flank - a tuskgor. To the right the swordmasters (who had deployed left of the silver helms), now advanced to cover the cavalry's right flank against attack, tempting the nearby tuskgor chariot with a 10" charge. Biding their time to block something important, the eagles followed behind in support.
Magic followed the same pattern: average dice, Flames on the shaman-horde dispelled, Fury and Arrow Curse punishing the tuskgor chariot thundering towards my firebase on the left. I didn't, however, have enough dice for Shield or Drain this turn, which was annoying (since combat was getting warmed up). Shooting followed up nicely and performed in classic High Elf style: the bolt throwers and green archers easily finished off the tuskgor and raiders approaching the building on the left while, on the right, the blue archers killed all 5 of the harpies approaching from the East. Little by little, all the support units operating around these big beastman hordes were being withered away.
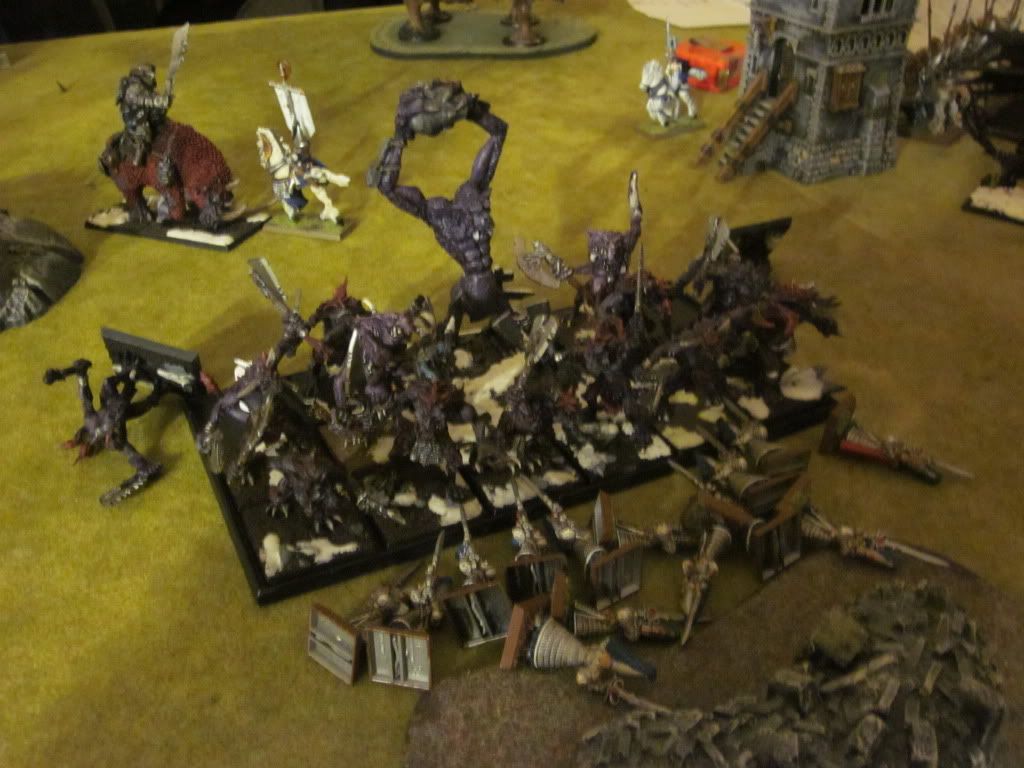
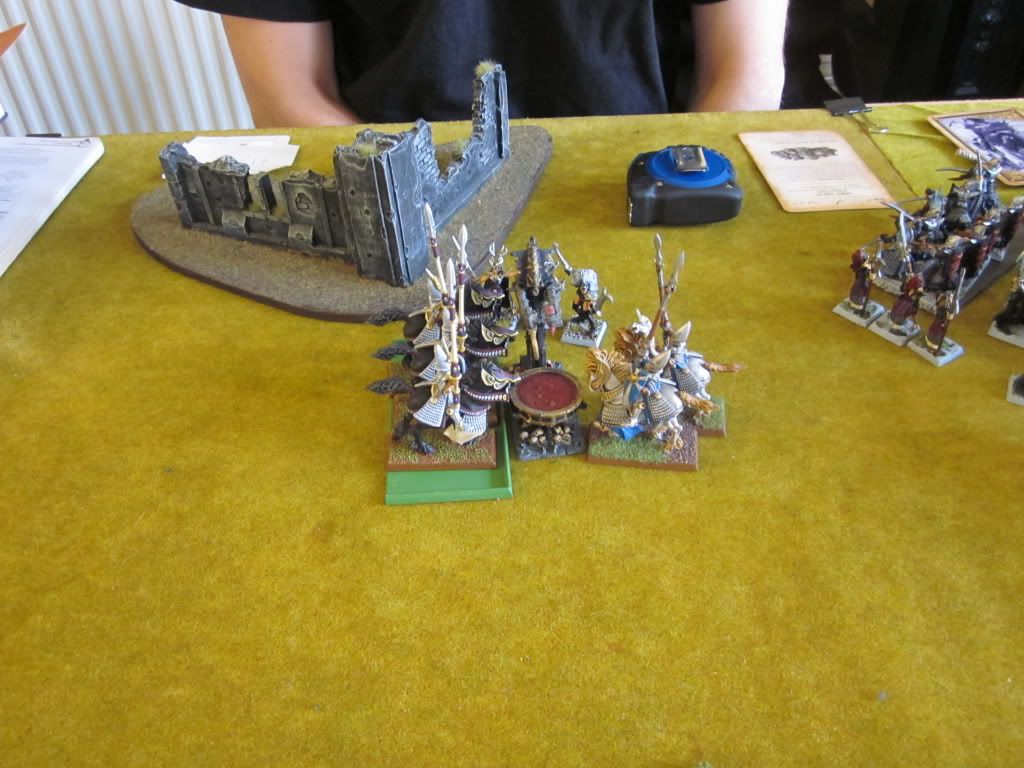
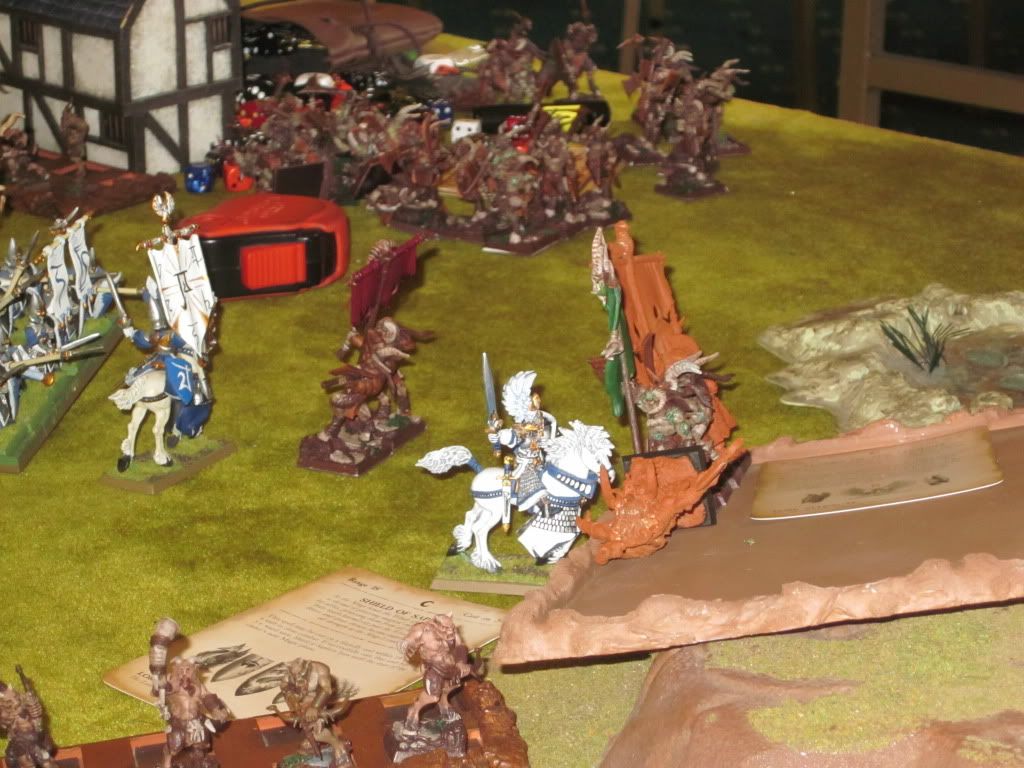
Combat was over in the blink of an eye as the elven cavalry smashed its enemies apart: the silver helms crushing the injured razorgor chariot, their heroes carving the healthy one asunder with ease, and all three units overrunning headlong into the waiting gor horde and its valuable shamans. Since my characters were individual units here, I was free to connect them separately to the enemy shamans (so long as I maximised contact) and then run the knights into the centre, which I duly did.
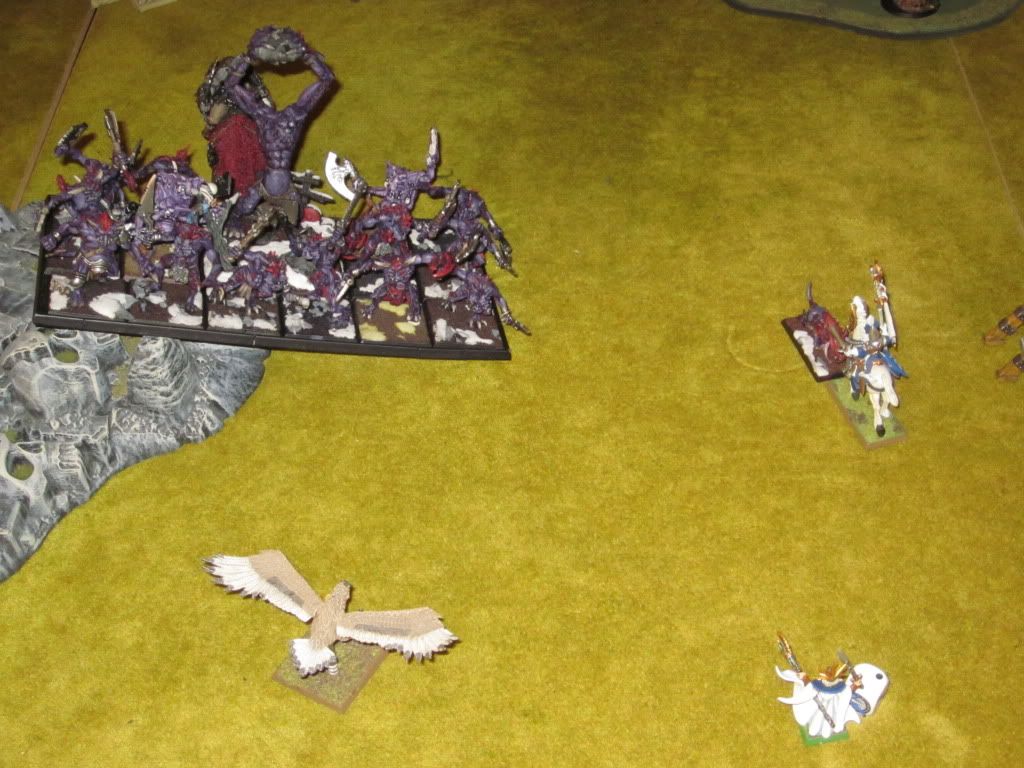
Having deployed in the East to block my knights, the beastlord and doombull now found themselves badly out of position as the entire High Elf army surged toward their right flank.
 Beastmen Turn 3
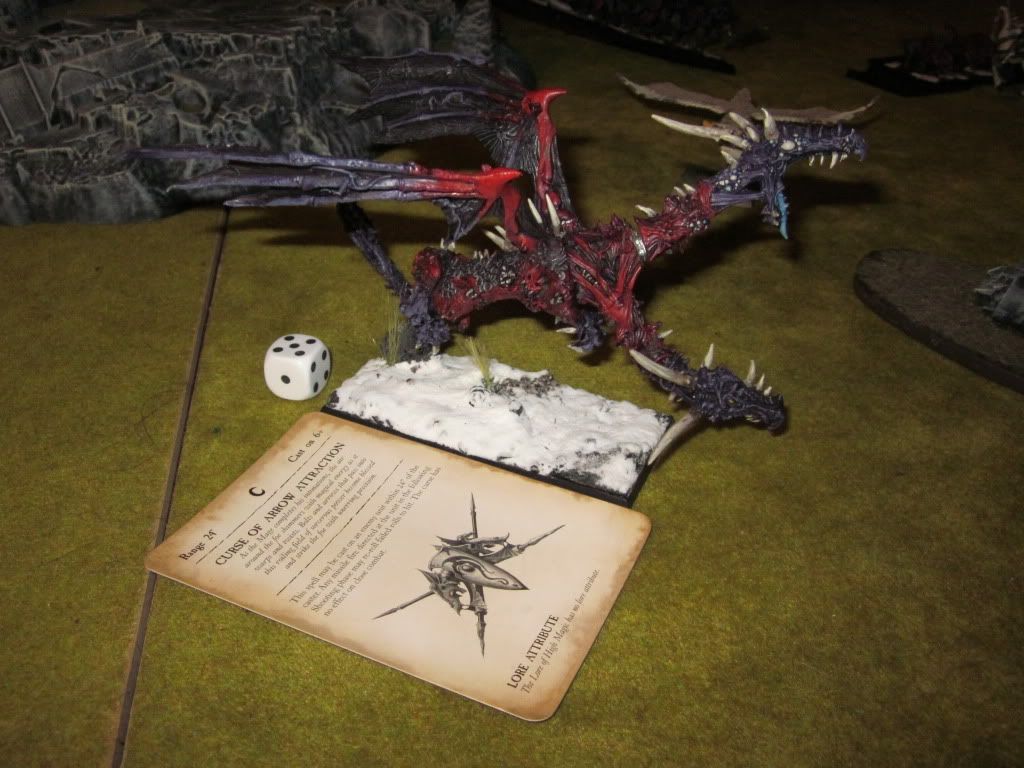
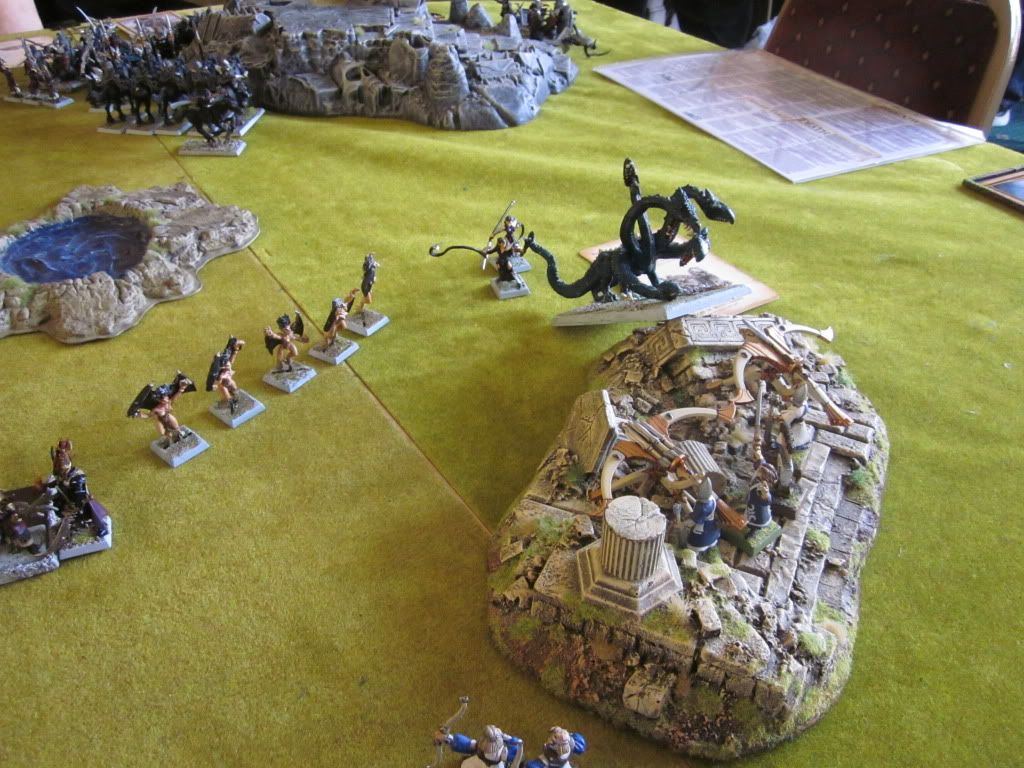
Well, the Doombull wasn't entirely powerless. He pulled out a very fetching oriental rug and flew straight at the dragon princes. They duly thought better of holding their ground and fled back toward the ruins on my right - a very impressive (and understandable) 10". A failed charge was the result. In the centre, the last chariot (of the 5 that had initially occupied the ground in front of the shaman-horde) now tried a long charge into the swordmasters and, typically, failed it.
A pivotal magic phase saw a moderate 8 dice vs 5. Seeing the elven prince galloping toward him full tilt, the Transformation shaman popped his power scroll and threw 6 dice for good measure at his big spell... but he didn't get the double 6, I burned my dispel scroll and then dominated the rest of his phase with my 5 dispel dice. No way out.
Combat saw Seredain go to work and destroy, in one fell swoop, half the enemy magic phase. The first shaman fell heavily to the ground and into the body of his horde smashed a steel wall of elven heavy horse. The silver helms did precision work, felling 5 beastmen and crushing another under the weight of their horses while Caradath cut the enemy champion to pieces. The beasts struck back but couldn't penetrate the knights' armour (even though Seredain was just clipped by the armour-nerfing item in the beaslord horde). An elven victory, then but the beasts were within in range of their battle standard, stood their ground.
High Elves Turn 4
In an attempt to press home the elven advantage and break the back of the shaman horde, the spear column committed to an 8” charge but rolled something tragic like double 1's. The swordmasters knew their business better, however, and successfully charged the penultimate beast chariot.
Since the beastlord horde would soon threaten my right flank, the white lions wheeled right and marched toward the swordmasters, Lecalion safely in their charge. To keep the looming chariot away from the swords' flank, one eagle parked infront of it. The other, ready to buy me another turn, sat safely behind the lions.
 The chariot threat seems neutralised as the High Elves rush to the attack.
Magic, with a mighty archmage taking on a lowly shaman, went well for the High Elves. Vaul's Unmaking on the beastlord-horde was dispelled, but this drew all the dice I needed to invoke Flames of the Phoenix on them. A full third of the gorhorde, 13 models, melted. This was swiftly followed by Arrow Attraction against them, and another 1-dice Shield on the silver helms.
Shooting continued the damage: another full rank of gor was, with the aid of the Arrow Curse, skewered into the earth.
Combat. Caradath slew the last shaman with ease, Seredain chopped up a few gor and I won combat. Again, the beastmen held their ground. To the right, the swordmasters carved up the razorgor chariot and reformed to face the beaslord horde. Against only two ranks of beasts, they fancied their chances.
 Elven harassment against the beastman left flank pins it in place even as the right begins to come under real pressure.
Endgame
Elven harassment against the beastman left flank pins it in place even as the right begins to come under real pressure.
Endgame
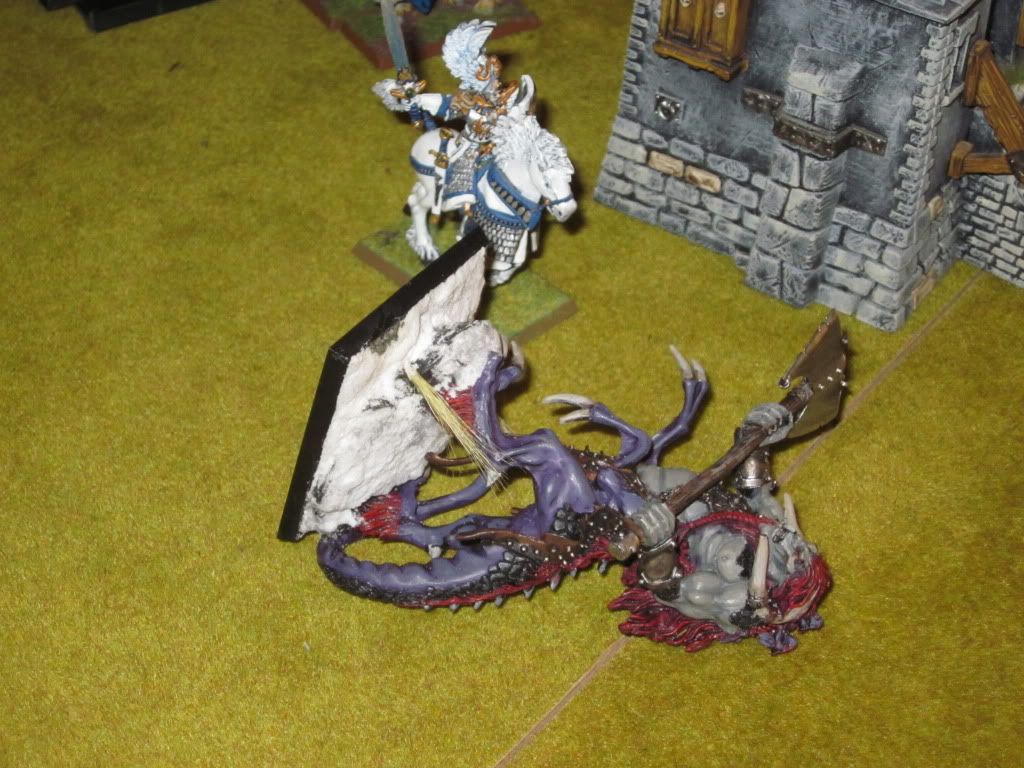
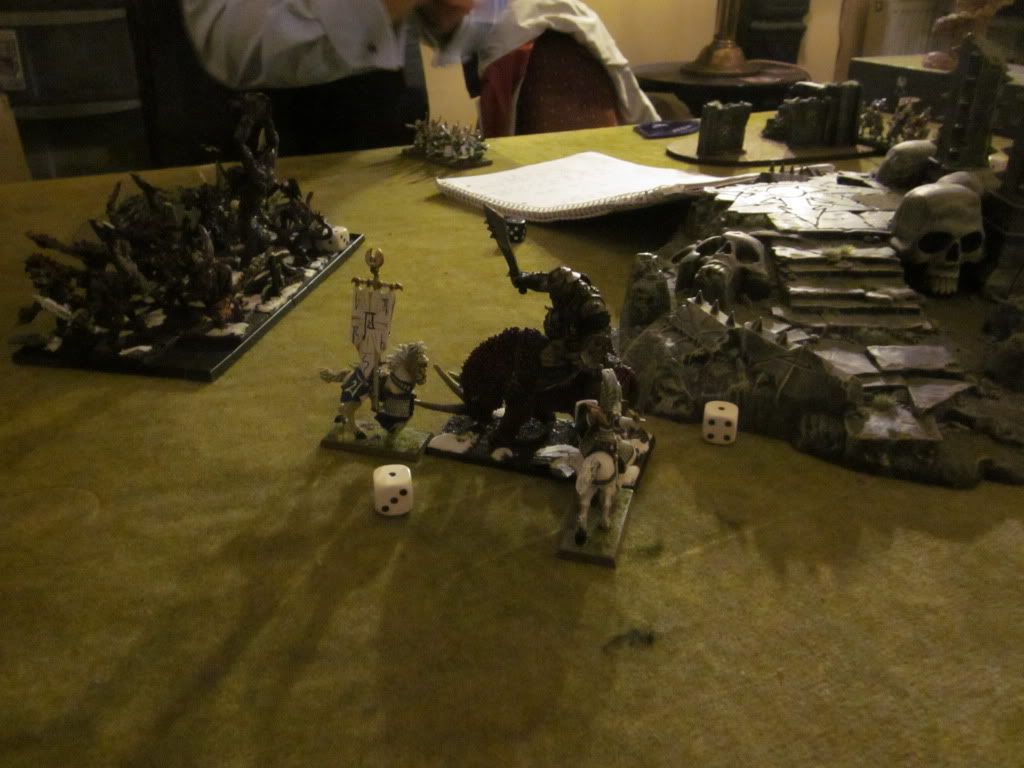
After this it was pretty much a clean-up operation. The Doombull eventually succeeded in killing the dragon princes, but this left him way out of the game and he couldn't get back into it. Worse was to come for the beasts. Once the last chariot was dead, the beastlord horde as absolutely punished by my shooting and magic until, finally, Seredain (who had killed his way out of combat with the other horde), charged in, invoked the power of the Trickster and cut the beastlord apart in one round of combat. The shattered remnant of the his retinue broke and were run down by the vengeful prince. Caradath and the silver helms ground down their opponents and, even before the spearelves came in for a flank charge (having manoeuvred around the left side), the shaman horde broke and was likewise destroyed.
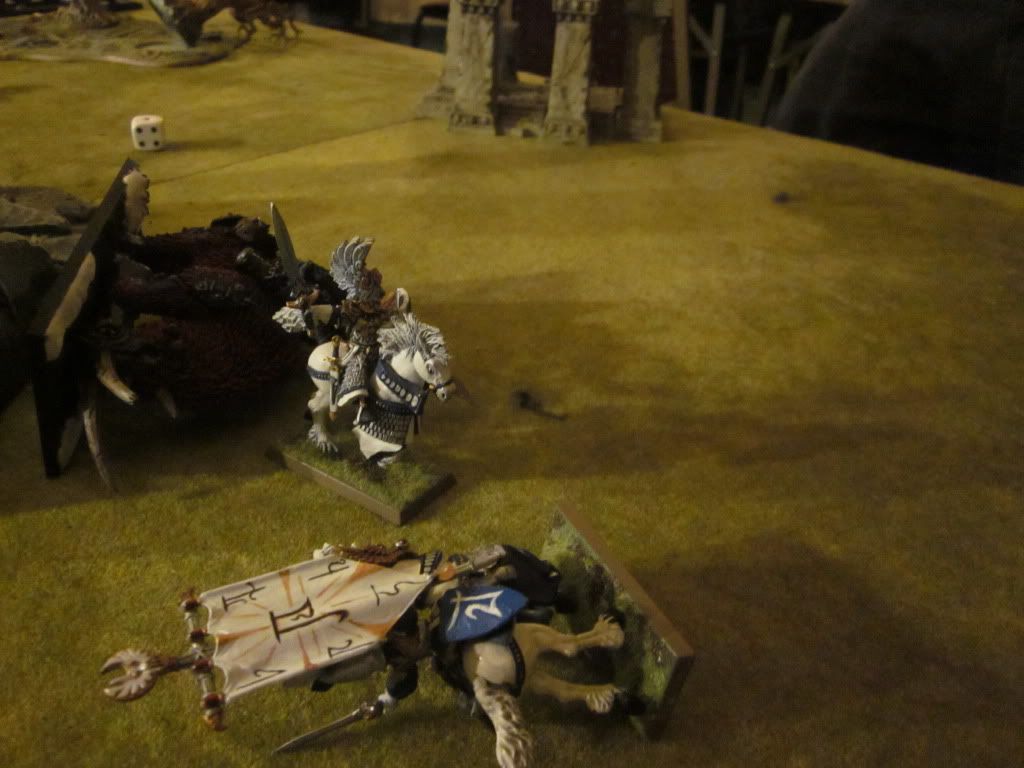
 As the rival generals finally meet in combat, the crippled enemy battle line begins to collapse.
The beastman army was almost completely destroyed and I had a 20-0 victory... Except that the last few dice were thrown after the whistle (my opponent needed regular cigarette breaks so we were pushed for time!), and I ended up with only a 15-5. Even so, the result left me playing the 2nd place army in the last round. I'd take that.
 Victory to the High Elves!
NEXT ROUND... HERO-HAMMER BRETTONIANS
Victory to the High Elves!
NEXT ROUND... HERO-HAMMER BRETTONIANS
 ).
).