Mini-report: High Elves vs Ogre Kingdoms
Spells
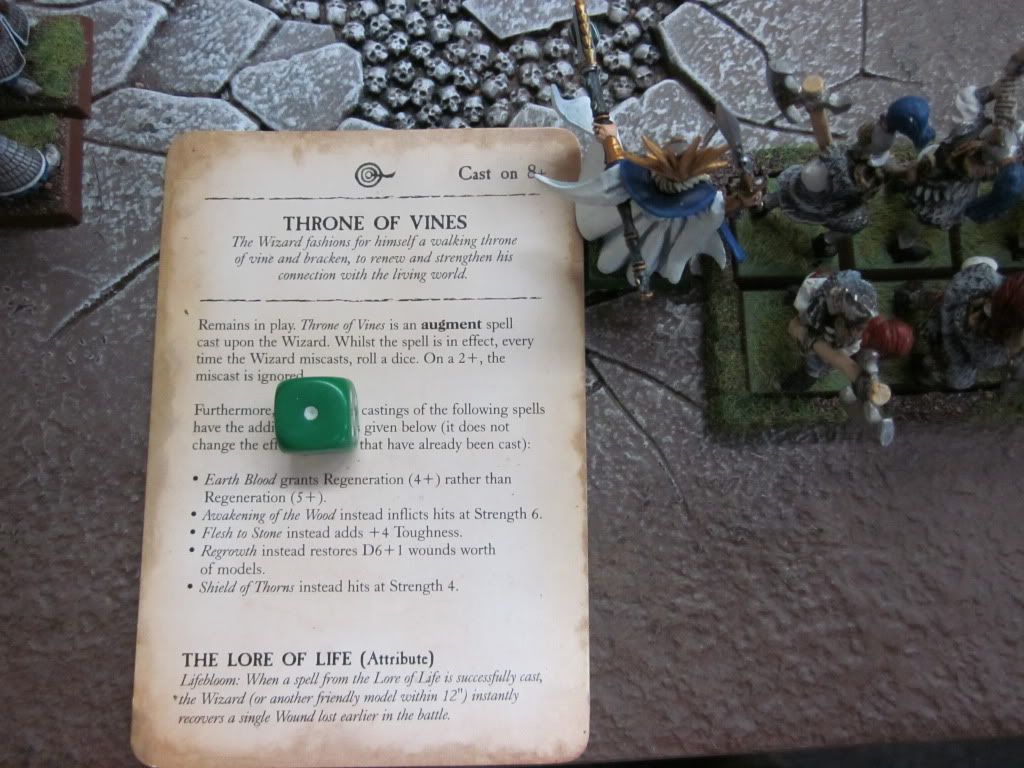
I got: Awakening, Throne of Vines, Flesh to Stone and Regrowth. I had the option to choose Dwellers but, in this instance, durability was going to be more of a problem for my T3 elves than damage dealing. My units could kill lots, but they'd be harder pushed to take the hits so, with that in mind, I plumped for Regrowth.
He got spells 1 to 4. This included trollguts (regen); spine marrow (stubborn) a 2d6 Str1 no armour save DD spell and another spell that I can't remember right now. My impression of the ogre magic? I don't remember all the spells, but it looked pretty good for them in terms of synergy, but not crazy good. The range, in particular, didn't seem all that impressive.
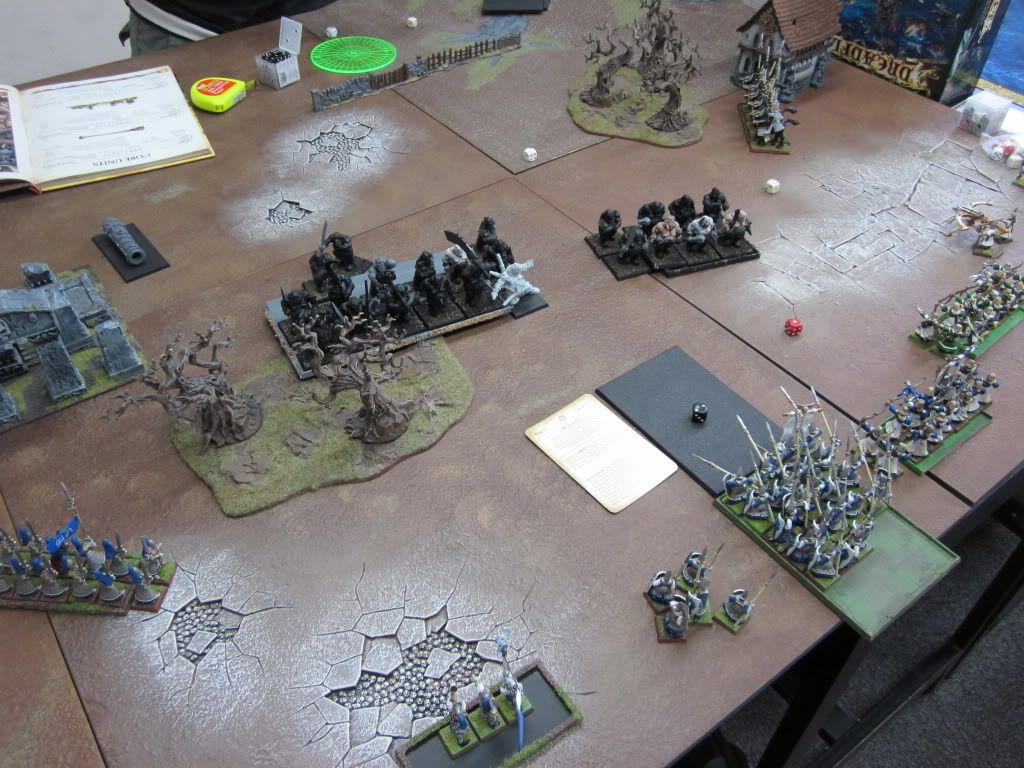
 Seredain didn't have many pictures of the battle, so he thought he'd milk this one.
 (btw - the sabretusks and mournfang cavalry have made their 1st turn moves in this shot).
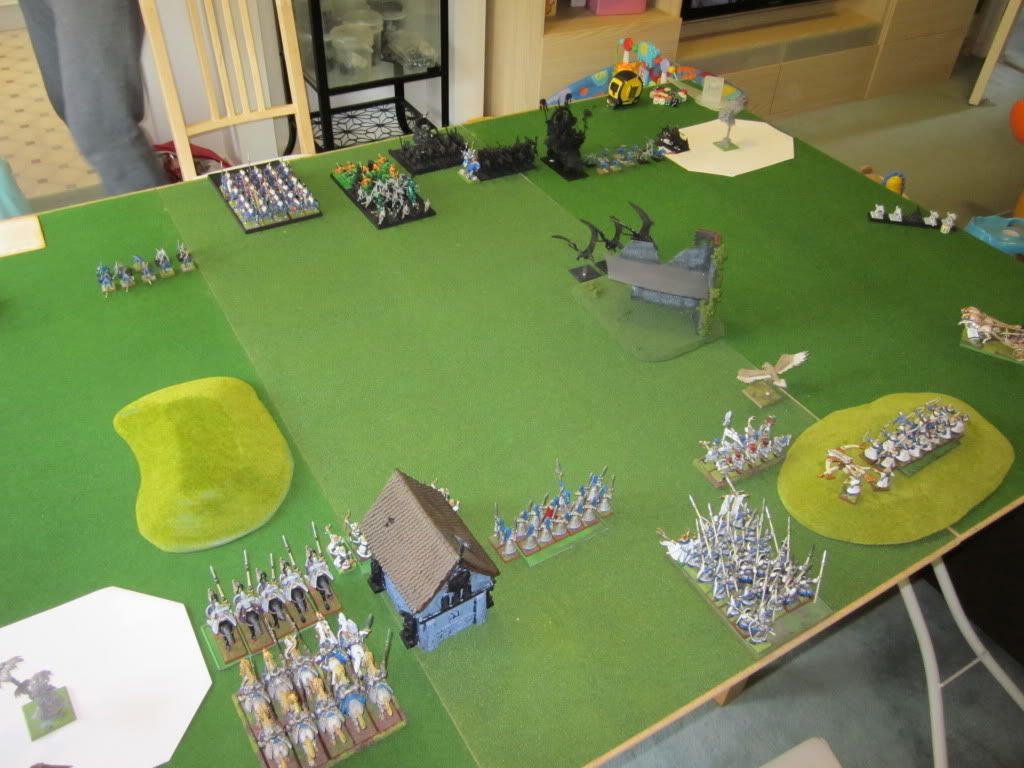
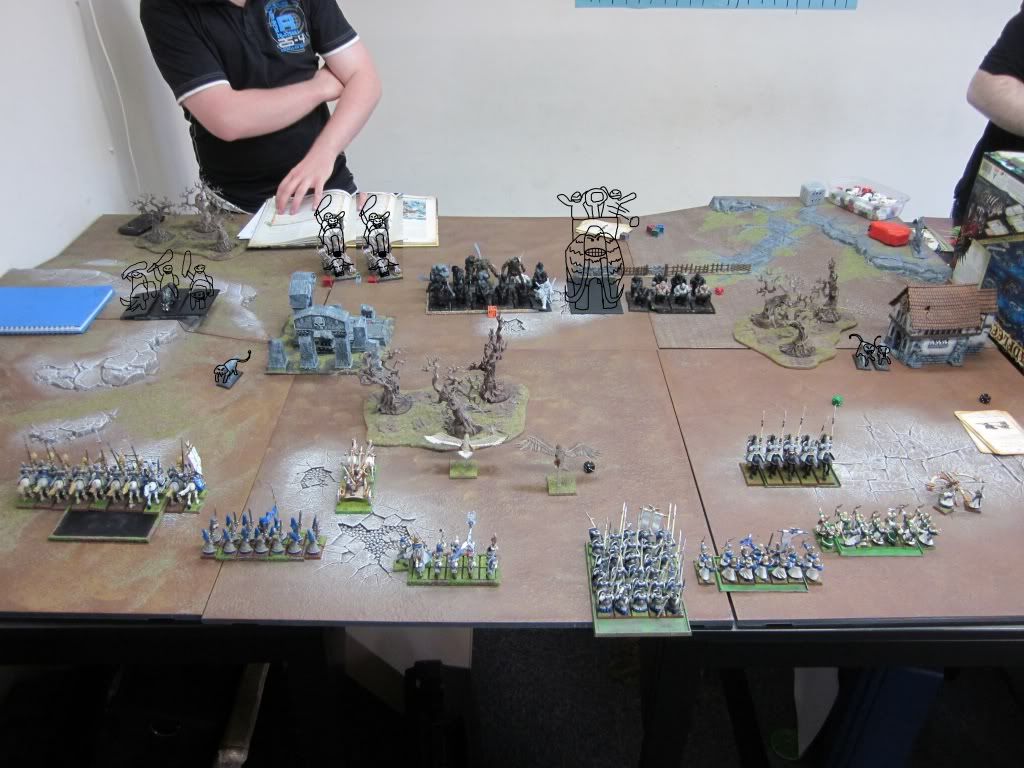
Deployment and the Plan
My opponent had 3 sabretusks to put down but, before long, it became obvious where his bus was going and, all in all, his deployment was pretty much as expected. I obviously wanted to delay fighting those ironguts for as long as possible and resolved to take out the other ogre units before getting a surround off and annihilating the bus. To this end, I spread my units out nice and wide. Ostensibly, the main strike would come from my silver helms on the left, with the swordmasters and chariot in close support (I wasn't familiar with the ogre cavalry or gunbeasts, but I figured my helm hammer could take 'em!). In the centre, it was all about harassment and, latterly, standing firm. The eagles would hold up the bus and my stubborn infantry, with archmage support, would stand when they had to and try and weather the storm long enough for my cavalry to ride to the rescue. On the right, my dragon princes, archers and repeater formed a strike/counter attack force the should be able to envelope the ogres there. Sabretusks aren't that hard: once my arrows had cleared them out, the princes would get around the flank and, when the time came, they and the archers would take on the bulls in combat: lances and swords in combination should do it: bulls aren't that hard to kill: T4, no armour.
As for the thundertusk, I knew that it had poor armour. I'd put as many missiles into it as I could and try and grind it out with the infantry. Ordinarily I'd put the knights through it: it isn't steadfast and, if I pop Loec on the helms, I'm very likely to total it in one round if I've put a wound on it with missiles first: it's got such a wide base, you can squeeze in a lot of attacks. Here, though, I wanted to clear out the ogre cavalry and cannons early- best done by my fastest hittiest troops. We'd have to see what the spears could do under pressure.
Leaving Fortress High Elf
A final couple of points on deployment. Against a bus-led, monster-heavy army like this, it was in my interests to spread out. Firstly, this made it much easier to get at the flanks of this small army on both sides (not common for us elves). By getting at the ogres' flanks and rears with my units I'd be better able to tip the balance. They're not often steadfast: static res matters more. To this end, my units on the far flanks were deployed forward to better strike forward and round the flanks, while the units in the centre (where the trouble was), sat deep to keep out of combat for as long as possible.
Secondly, spreading out like this reduced the effectiveness of the bus itself. For one, it couldn't smash its way through multiple units quickly - it was never going to be overruning into anything. More importantly, though, having its targets spread out meant that it had to expose
its flanks too. If it gunned for the white lions, for example, my swordmasters would have its right flank by the time it got there. If it turned towards the swords, the white lions would have its left flank. In each case, I'd be inflicting lots of hits (when it came to it) without receiving a ton of attacks in return. I'd still have to wait for other units to come and help- especially my knights aiming to move round the back, but preparing for the surround early was sensible. And would give my infantry a fighting chance if things went wrong elsewhere. Thinking positively, though, and assuming my knights made it, I'd already begun to build the big surround with which I aimed to crush this big block.
In summary: don't castle your High Elves up against armies likes this. They're much more likely to just smash through you, and you're far less likely to be able to attack effectively by winning a surround. Spread out and move!
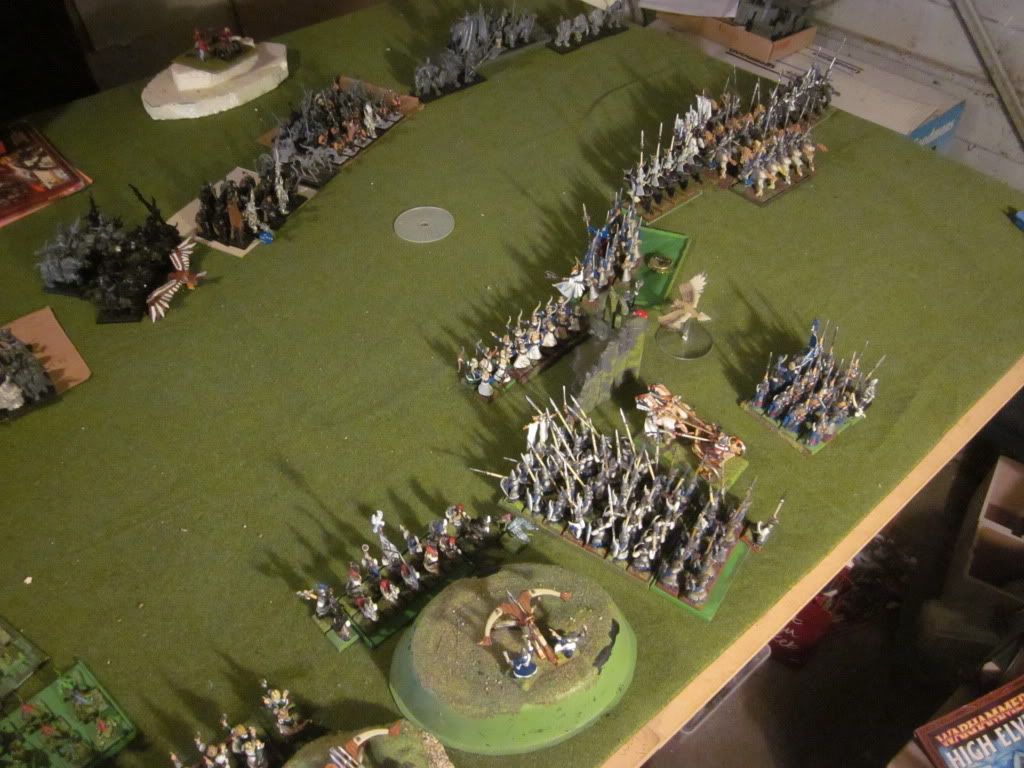
 A defensive formation built for counter-attack.
Ogres Turn 1
A defensive formation built for counter-attack.
Ogres Turn 1
They came on in the same old way. On my left, the ogre cav ventured a little too close to my knights (as pictured) and offered me a 1st turn charge. Hmm.
Ogre magic didn't do much and neither did ogre shooting: the thundertusk's catapult scattered, one of the iron blasters missed and the other only managed to ping two wounds off an eagle (excellent). Surely it wasn't going to be this easy, was it?
High Elves Turn 1
No. My 1st turn charge with the silver helms failed and they now stood staring the mournfang in the face. To cover their sluggish comrades, the swordmasters moved up a little open up a counter-attack on Seredain's right flank should the ogre beasts come thundering in. Before them, the chariot ran forward to flatten the sabretusk stood by the ruins. To further open up a gap between them and the spears, the white lions slid left with the spears and archers staying put. The princes also stood their ground: much easier to take a flank when your enemy has already committed himself forward. My first eagle (the one on full wounds) flew infront of the mournfang and angled toward the left corner. If I didn't get Flesh to Stone up, at least the eagle could prevent a charge on my knights and set up a counter for next turn. Eagle number 2 hovered by my archmage, looking for some Lifebloom TLC.
Magic. To prevent the mournfang from being a problem at all, and having got Throne of Vines up, I chucked 6 dice at Flesh to Stone (not much else to cast and I wanted this to go through). It went off irresistibly, so those Mournfang were staring at T7 helms. Tasty. I just had the miscast to avoid, then.
 Oh.
Oh.
 Shit.
Shit.
You won't see a lot of photos from this point on because, for a good while, I was too busy weeping. My magic phase was gone and so, mostly, were my white lions. Killing the sabretusks on my right with arrows did not put a smile on my face. At least Lecalion had healed the eagle before he exploded... Yay.
Ogres Turn 2
The advance continued. On the left, the mournfang took the charge against my eagle and, when he fled, redirected into the helms. I guess my opponent figured, correctly, that chasing the eagle down would simply take them into the wrong part of the board
and leave a flank charge on for my knights. Even so, this wasn't a brilliant situation for my opponent. I'd probably have shifted those mournfang back to try and force another unlucky charge from my knights (not a sure thing but possible)- this combat wasn't going to go well for them, especially since they were too far from the Slaughtermaster to get any magic support.
The shooting phase was better for the ogres: the Thundertusk catapult killed a some spears (though the bolter missed again), and one of the leadblaster cannons picked off a silver helm, having failed to snipe Seredain from his horse. Its fellow tried to snipe an eagle, but overshot.
Magic wasn't that important: very little was in range at this stage. I think my opponent buffed his bus somehow to prevent me from shooting it up with all my missile fire. This was his money unit and he really didn't want me to start picking off guts. Fine by me, though.
In the combat phase, my silver helms (or rather their leaders, who
made way to the centre of the unit) tore into the mournfangs, inflicting 5 wounds, and lost none in return. The ogres easily broke but I couldn't run them down. Even so, my knights were on the charge. Game on.
High Elves Turn 2
My chariot charged the sabretusk by the ruins and my silver helms charged the fleeing mournfang, who kept running and
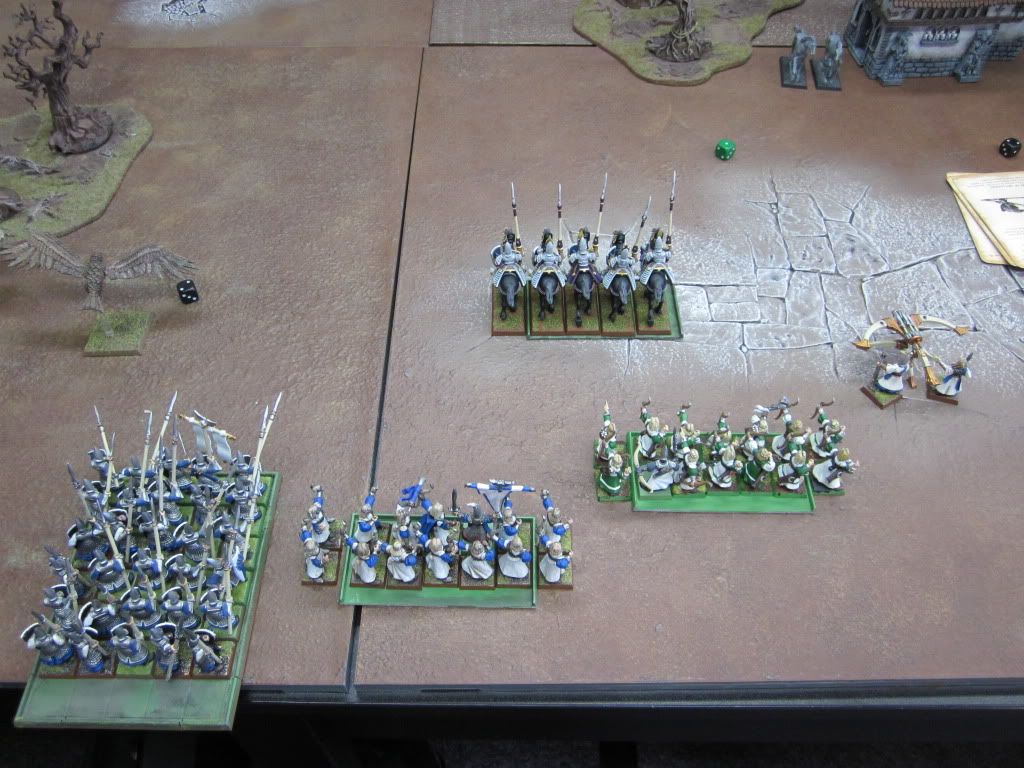
just got out of range, forcing a failed charge. Elsewhere, the white lions and spears held back. The dragon princes spurred their horses now, though, and swung out to the right, out of the advancing bulls' charge arc. Eagle number 2 flew forward and blocked the ironguts.
Shooting was pretty decent- 2 wounds went on the thundertusk, bringing it down to 4. In combat, the chariot (predictably) smashed the sabretusk and reformed to face the nearest leadblaster along the edge of the ruins.
Ogres Turn 3
The mournfang rallied. The bulls couldn't charge my princes, so resolved to close in against my infantry instead. They came forward alongside the thundertusk, then, while the poor ironguts rid themselves of the harassing eagle. The two leadblaster both hovered by the ruins to cover against my knights with a combination of cannonballs and sheer bulk.
The shooting phase saw the thundertusk's weapons hit nothing, one leadblaster (the nearest to my knights) snipe my last eagle and the other leadblaster have its gun blow up while trying to snipe the prince. The ogre magic phase wasn't big- regen went up on the thundertusk but that was pretty much it- I actually managed to dispel spinemarrow on the mournfang cavalry. There was possibly a buff up on the gut bus but, since I wasn't intent on fighting it yet, that didn't matter.
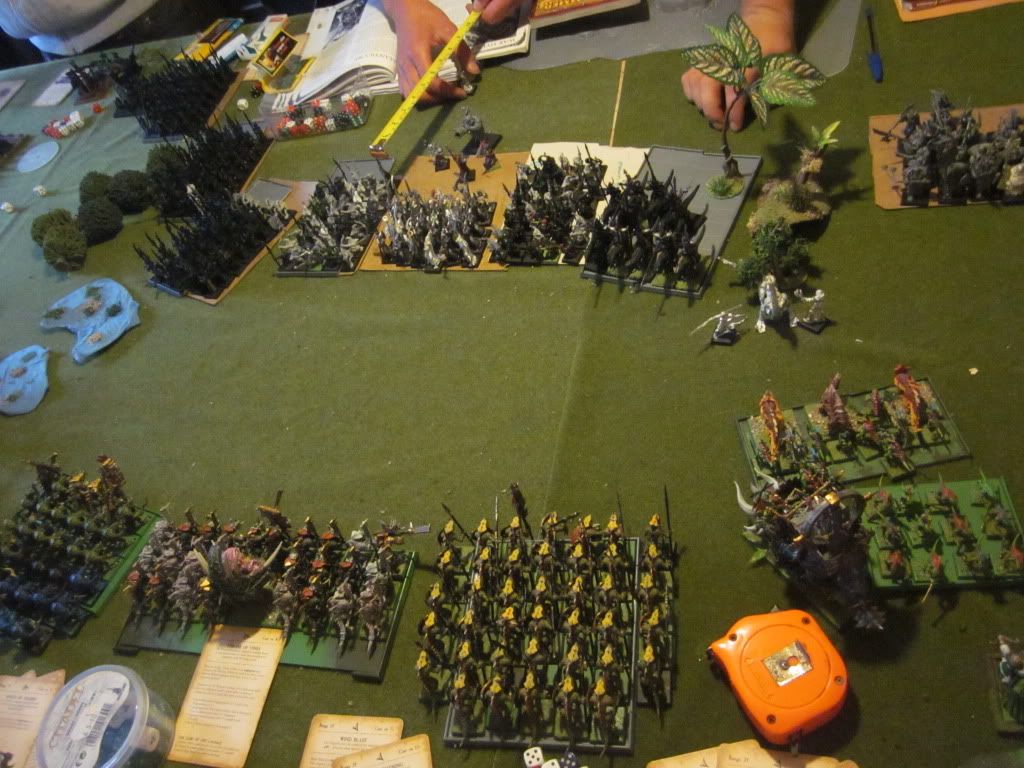
High Elves Turn 3
Lots of people have suggested to me that I should lose the tiranoc chariot and spend the points on upgrading my combat units. For 85 points I could upgrade my silver helms to dragon princes, for example! This turn demonstrated another reason why having that extra unit is, tactically, a lovely thing. My chariot charged the nearest leadblaster (a straight vertical charge up the edge of the ruins- the beast had exposed itself to get cannon shots off), and the silver helms declared a charge against the mournfang. In their long line, a move straight through would allow them to clip the leadblaster. Rather than just let them through, then, the mournfang held and hoped for a miracle. Elsewhere, the swordmasters put themselves further into the flank zone of the enemy gut bus, but still at a great distance, while the dragon princes advanced and wheeled around the flank of the bulls until they had a rear charge on.
Shooting saw another wound get through onto the tundertusk, bringing it down to 3.
In combat, Seredain and Caradath demolished the remaining mournfang cavalry and urged their knights on to greater glory. The silver helms duly thundered forward and clipped the leadblaster fighting the chariot. Seredain 'made way' into base contact and, since the chariot hadn't fought yet, got another round of combat in. The chariot knocked two wounds off of the beast with its charge and the prince did the rest: cutting it apart. The knights reformed into their usual 2-ranked formation and they and the chariot turned to face the last leadblaster, close and looking nervous. This flank was mine and I had a charge on the 2nd leadblaster next turn. Very good.
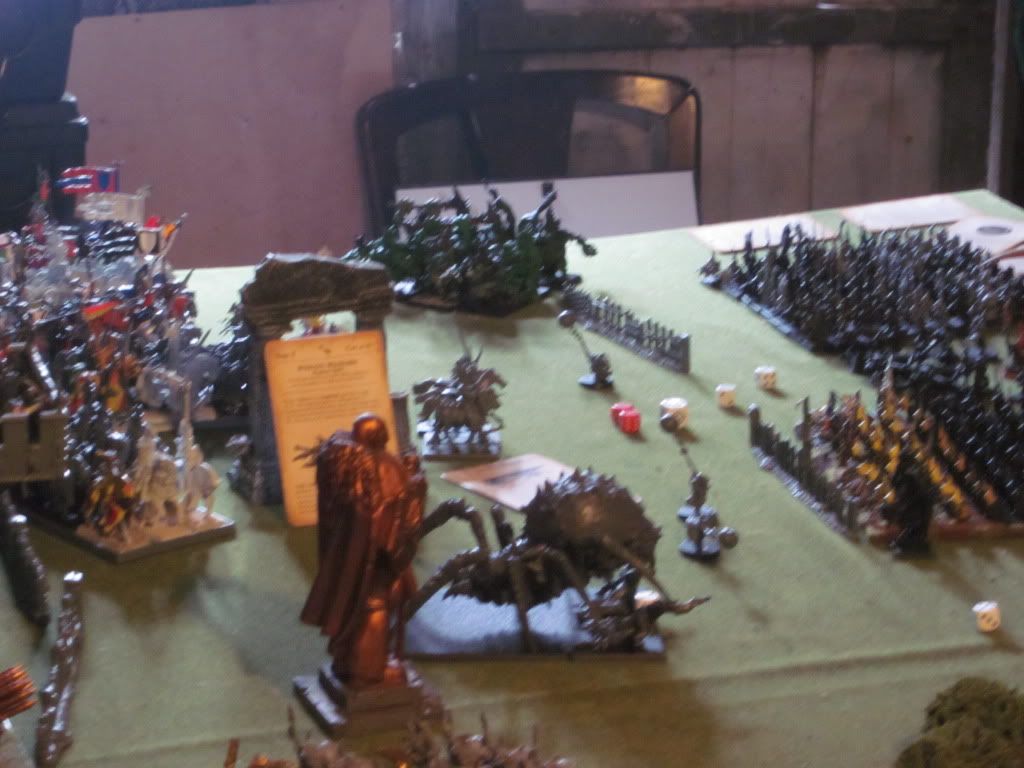
 A synchronised charge from the cavalry and chariot smashes through and clears the left flank in a single turn.
Ogres Turn 4
A synchronised charge from the cavalry and chariot smashes through and clears the left flank in a single turn.
Ogres Turn 4
The last turn we could play, since the store was closing. The gut bus was too far away to charge anything, so it came forward and made angry noises at the white lions. The thundertusk, however, attempted a dual charge on the spearelves with the ogre bulls. Alas for them, they were too far away (about 14") and only the monster made it in. The noble elven citizens lowered their shining spears, gritted their teeth and held their ground. Worse for the ogre bulls; their failed charge had not only left the dragon princes with the rear charge, it had now given my green archers, deployed forward on the right flank, a flank charge against them next turn. With a dual flank and rear charge from archers and princes, these bulls were toast!
In the magic phase my opponent gave it the thundertusk regen and, with the Slaughtermaster waving his sickle about, there was nothing I could do to stop him. Luckily I did manage to stop the DD spell from hitting my lions, who I'd need to block the bus off with next turn (in theory). Shooting, happily, saw the remaining leadblaster, who'd retreated from my knights (but not far enough), try to shoot the swordmasters but blow his cannon up. Haha.
Combat, then. The spears did fine- hitting on 3's still saw lots of hits despite the loss of ASF- and put another wound on the thundertusk, which was now down to 2. The beast then trampled 5 spearelves to the ground, but they knew this was coming and didn't even think about giving ground. The held and called on the archers to their right for support...
High Elves Turn 4...
So, this is how things looked.
On the left flank, my silver helms and chariot, just out of shot by the ruins, have wrapped around and are now looking to charge the leadblaster just beyond (the base with the big cannon on it). As you can tell by its position in relation to the ruins in the photo, the elves have an easy charge against it.
On the centre-left, the swordmasters have an easy task in keeping out of sight of the ironguts, since they're now well out to the flank. The lions, poor bastards, will march forward 10" and make sure the ironguts don't just wheel to face the swords or charge the spears. In short, the ironguts are delayed for another turn and my swordmasters and knights will have a flank-rear on them next turn unless, having killed the lions, they turn away from the rest of my army and face towards my knights or swords. In this instance, though, I'll still always have a flank on with either of these units: the ogres can't face both ways. I then either dual charge, or I make the flank charge with the one unit and kill lots. He holds (probably) and reforms to face me. I then take another flank/ rear charge with the 2nd unit and kill a load more. This might break him, especially since he's in the forest and depending on how influential his steadfast/regen spells are. In any case, this is without considering my other units, who should be free to help out because...
...The spears have held and the thundertusk is down to 2 wounds. The blue archers will now take a flank charge into it and so, odds on, it's dead as a dodo this turn- and I have 3 rounds of combat to kill it before the ironguts become a live issue again (my turn, his next turn (eating lions only), my next turn). As for the bulls, they're about to get flanked by the green archers and reared by the DPs, so they're toast. Even with a surviving lord-level caster, I don't think my opponent is going to win this one.
A massive shame we didn't get to play my Turn 4 then but, as you can see, odds are very strong indeed that the only surviving unit by my Turn 5 will be the ironguts and, by that time, they'll be surrounded by my knights, chariot, swordmasters, spears and dragon princes.
Who needs an archmage, eh?